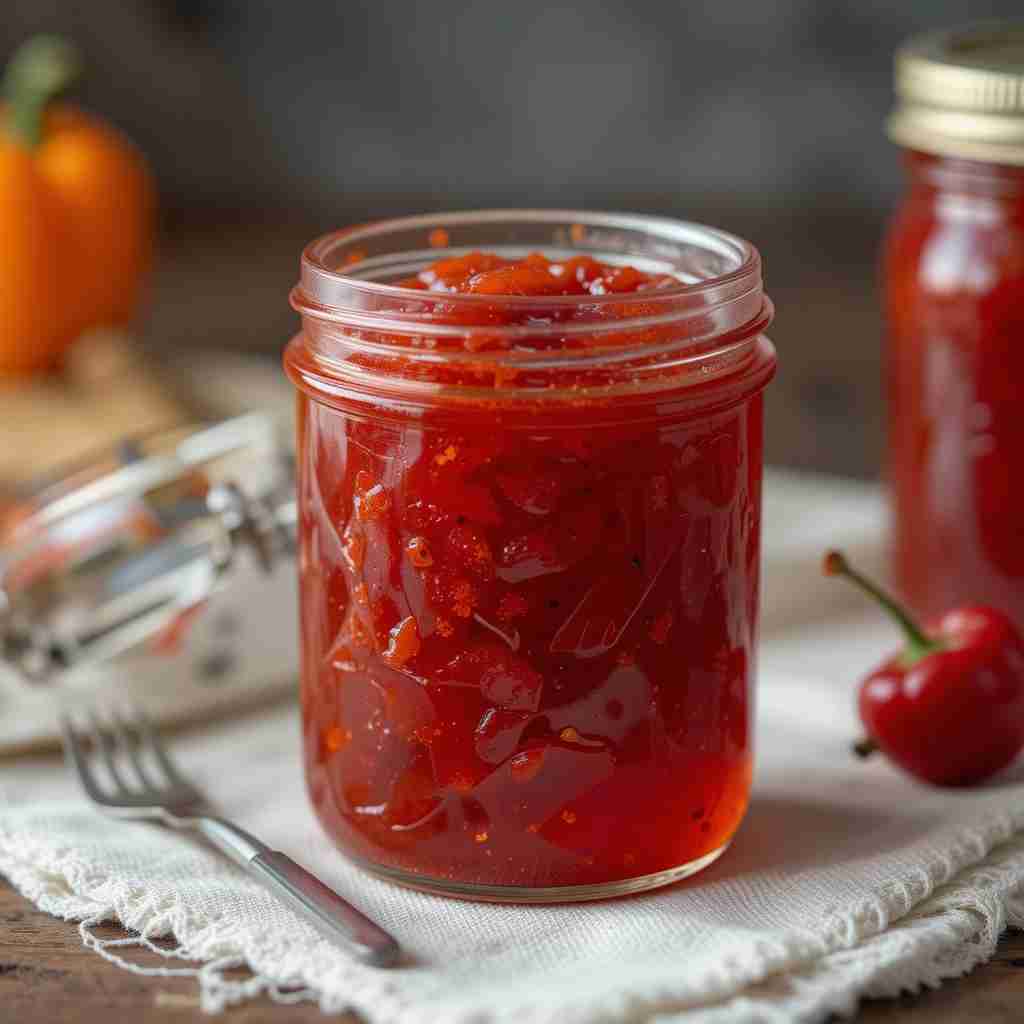
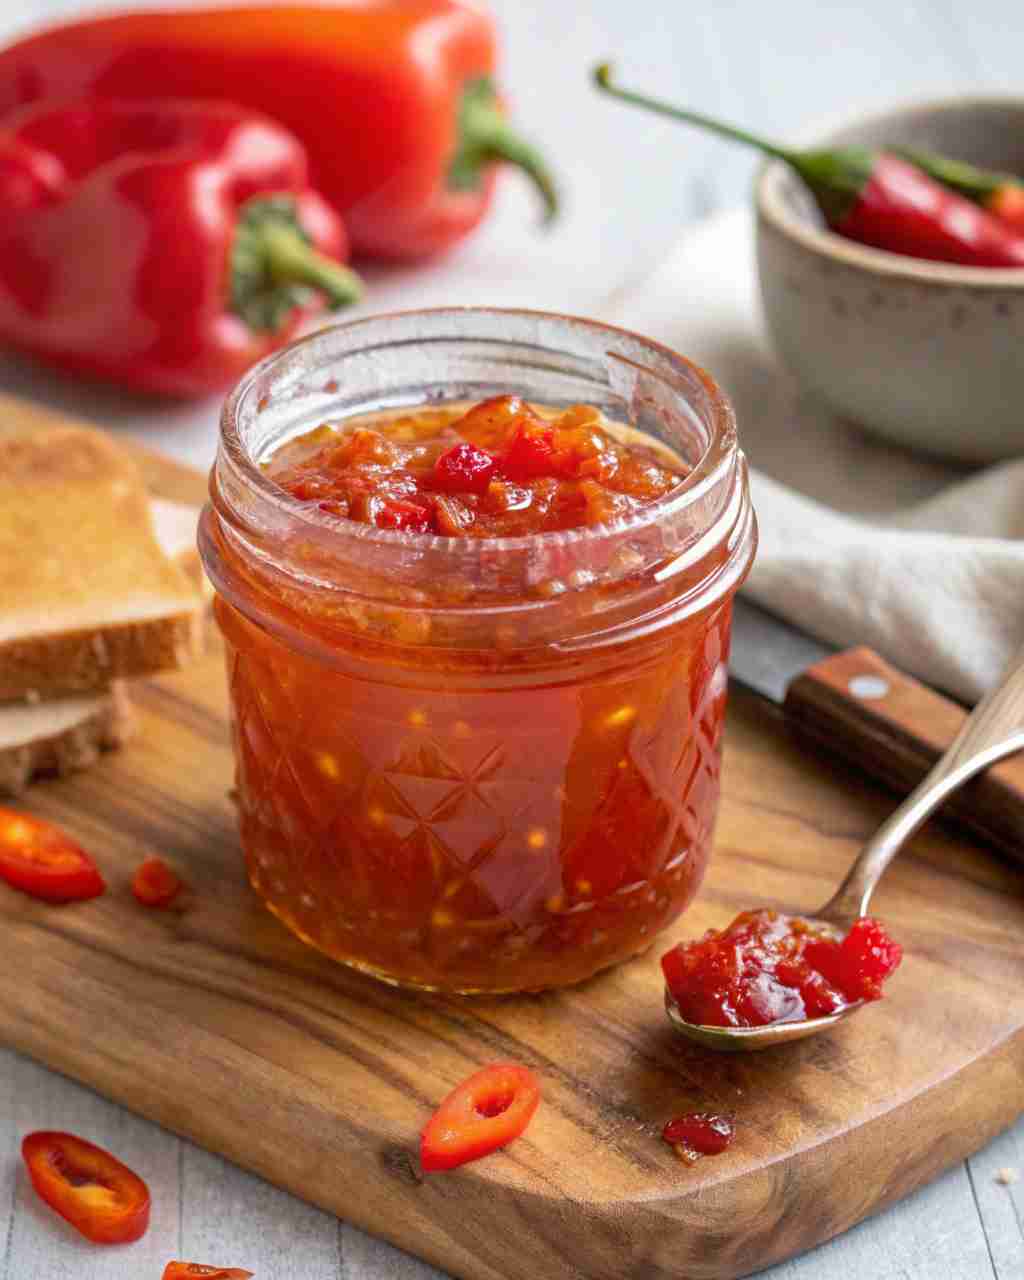
Are you ready to add a fiery kick to your breakfast toast or a sweet-heat glaze to your grilled chicken? This Hot Pepper Jelly Recipe is exactly what you need! It’s a delightful combination of sweet and spicy, perfect for elevating your culinary creations.
What is Hot Pepper Jelly?
Have you ever wondered how something so fiery could also be so delectable? Hot pepper jelly, the culinary enigma! Is it a spread? A condiment? A secret weapon in the kitchen? The name alone conjures images of fiery red peppers dancing with sugary crystals.
Why You’ll Love This Hot Pepper Jelly:
This hot pepper jelly will tantalize your taste buds with its unique sweet and spicy flavor profile. Nothing beats the satisfaction of crafting something so flavorful from scratch. Making it at home is significantly cheaper than buying a similar jar from the store,
plus you have complete control over the ingredients and the level of heat. This jelly is perfect with cream cheese and crackers, as a glaze for meats, or even as a flavorful addition to your favorite sandwich! If you are fan of sweet things, you might enjoy some great Honey butter recipe, check it out and explore more content. Don’t wait give this recipe a try, and enjoy the sweet and spicy!
Key Ingredients for Hot Pepper Jelly:
Here’s everything you’ll need to make a jar of the most luscious hot pepper jelly you’ve ever tasted:
- 4 cups finely chopped hot peppers (jalapeños, habaneros, or a mix for different heat levels), stemmed and seeded
- 1 green bell pepper, finely chopped, stemmed and seeded
- 1 1/2 cups apple cider vinegar
- 6 1/2 cups granulated sugar
- 1 package (3 oz) liquid pectin
How to Make Hot Pepper Jelly:
Making your own hot pepper jelly is easy, surprisingly fast, and incredibly rewarding. The combination of sweet, spicy, and fruity notes makes it totally irresistible.
Preparation time: 20 minutes
Cooking time: 25-30 minutes
Yields: About 6 half-pint jars
Step-by-Step Instructions:
- Prepare the Peppers: Using gloves is advisable for this step! Finely chop the hot peppers and bell pepper. Be sure to remove the stems and seeds from the hot peppers. The number of seeds you leave will determine the heat of the jelly, so decide how hot you want your jelly!
- Combine Ingredients: In a large, heavy-bottomed pot, combine the chopped peppers, bell pepper, and apple cider vinegar.
- Bring to a Boil: Bring the mixture to a full, rolling boil over high heat, stirring constantly.
- Add Sugar and Pectin: Add all the sugar at once and continue stirring until the sugar is completely dissolved. Bring back to a full rolling boil that cannot be stirred down, continuing to stir constantly. Boil hard for exactly 1 minute. Remove from heat and quickly stir in the liquid pectin.
- Skim Off Foam: Skim off any foam that forms on the surface of the jelly. This will give you a clearer final product.
- Jarring and Processing:
- Sterilize Jars: Prepare your canning jars by sterilizing them. Wash the jars, lids, and bands in hot, soapy water. Rinse well. Place the jars in a boiling water canner and cover with water. Bring to a boil and boil for 10 minutes. Keep jars hot until ready to fill. Place lids in a small saucepan, cover with water, and simmer.
- Fill Jars: Ladle the hot pepper jelly into the sterilized jars, leaving 1/4 inch headspace. Wipe the rims of the jars clean with a damp cloth.
- Seal Jars: Place the lids on the jars and screw on the bands until fingertip tight.
- (Optional) Process in a Boiling Water Canner: Carefully lower the filled jars into the boiling water canner. Ensure the water covers the jars by at least 1 inch. Bring the water back to a boil and process for 10 minutes.
- Cool and Check Seals: Remove the jars from the canner and place them on a towel-lined surface to cool. Let the jars cool completely, undisturbed, for 12-24 hours. As the jars cool, you should hear a popping sound as the lids seal. After the jars have cooled, check the seals. Press down on the center of each lid. If the lid doesn’t flex or pop back, it’s sealed properly. If a jar didn’t seal, either reprocess it with a new lid or store it in the refrigerator.
- Label and Store: Label the jars with the date and contents. Store in a cool, dark place.
What to Serve Hot Pepper Jelly With:
Hot pepper jelly is incredibly versatile. Try these serving suggestions:
- Cream Cheese & Crackers: The classic pairing! Spread cream cheese on crackers and top with a dollop of hot pepper jelly.
- Glaze for Meats: Brush hot pepper jelly onto grilled chicken, pork, or salmon during the last few minutes of cooking for a sweet and spicy glaze.
- Sandwich Spread: Add some kick to your sandwiches by spreading a thin layer of hot pepper jelly.
- Cheese Platters: Elevate your cheese platter by including a small bowl of hot pepper jelly alongside your favorite cheeses. It pairs especially well with brie, goat cheese, and cheddar.
- Pizza Topping: Add to pizza to give it a unique tangy flavor.
Top Tips for Perfecting Hot Pepper Jelly:
- Adjust the Heat: Control the heat level of your jelly by adjusting the type and amount of hot peppers you use. For a milder jelly, use mostly jalapeños. For a spicier jelly, use habaneros or scotch bonnets. Remember to wear gloves when handling hot peppers!
- Cook to the Sheet: A good way to see if the jelly is setting is to place some of the cooked mixture on a cold steel spoon and leave it for a few seconds before tipping the spoon vertically – if the mixture forms visible sheets dripping from the side of the spoon the jelly is ready.
- Use the Right Pectin: Be sure to use liquid pectin specifically formulated for making jams and jellies. Do not substitute powdered pectin, as it will not work the same way.
- Sterilize Everything: Proper sterilization is crucial for safe canning. Ensure your jars, lids, and bands are properly sterilized before filling.
- Don’t Overcook: Overcooking the jelly can result in a tough, rubbery texture. Follow the cooking times closely and use a candy thermometer if you’re unsure. It should reach 220°F (104°C).
- Give it Time to Set: The jelly will thicken as it cools. Allow at least 24 hours for it to fully set before serving.
Storing and Reheating Tips

- Unopened Jars: Properly processed and sealed jars of hot pepper jelly can be stored in a cool, dark place for up to 1 year.
- Opened Jars: Once opened, store the jelly in the refrigerator. It should last for up to 2-3 weeks. Always use a clean utensil when scooping out of the jar to prevent contamination.
- Freezing (Not Recommended): Freezing hot pepper jelly is not recommended as it can change the texture and consistency of the jelly. The water content in the jelly will crystallize and create a less desirable product. However, if you must freeze it, use freezer-safe containers and leave some headspace. Allow it to thaw completely in the refrigerator before using.
Final Thoughts:
This hot pepper jelly recipe is a delicious and rewarding way to add a touch of sweet heat to your culinary creations. Whether you’re spreading it on crackers, glazing meats, or adding it to your favorite recipes, this homemade jelly is sure to impress. So, grab your ingredients, put on your gloves, and get ready to experience the magic of homemade hot pepper jelly!
FAQs
- Can I use different types of peppers? Yes, you can use all sorts of different peppers to make hot pepper jelly. Be careful with super hot peppers, though.
- Does my jelly go bad? If stored properly, your jelly can last for up to 2 years. Once it’s open, it typically lasts for about 2 to 3 weeks, but it’s always best to check for mold or spoilage before eating. This article contains general facts and information; it is not intended to substitute scientific or food safety advice.
- Can I make this jelly without pectin? No, its texture is completely dependent upon the addition of an ingredient like pectin.
- My hot pepper jelly didn’t set. Now what ? If your hot pepper jelly isn’t setting, consider a few potential reasons. Insufficient pectin, inadequate boiling time, or incorrect sugar-to-liquid ratios can all hinder the gelling process. To salvage it, you can try re-cooking the jelly with additional pectin and a slightly longer boiling time, ensuring the correct sugar ratio.
try also : Easy Pumpkin Dump Cake Recipe and find more in pinterest

