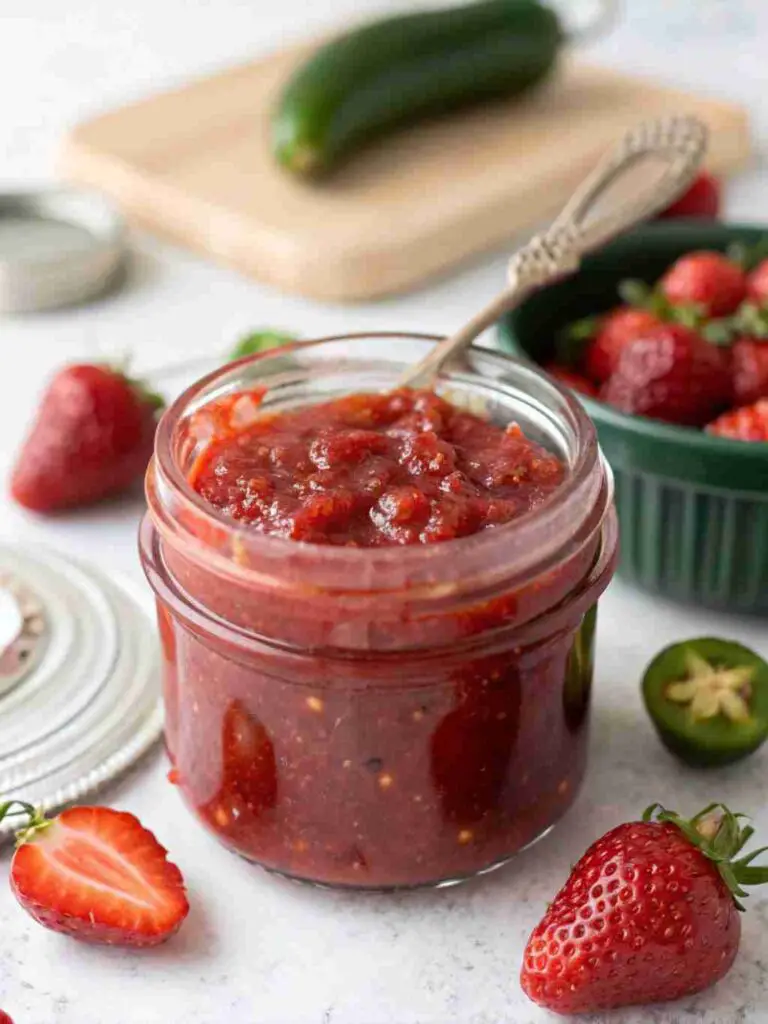
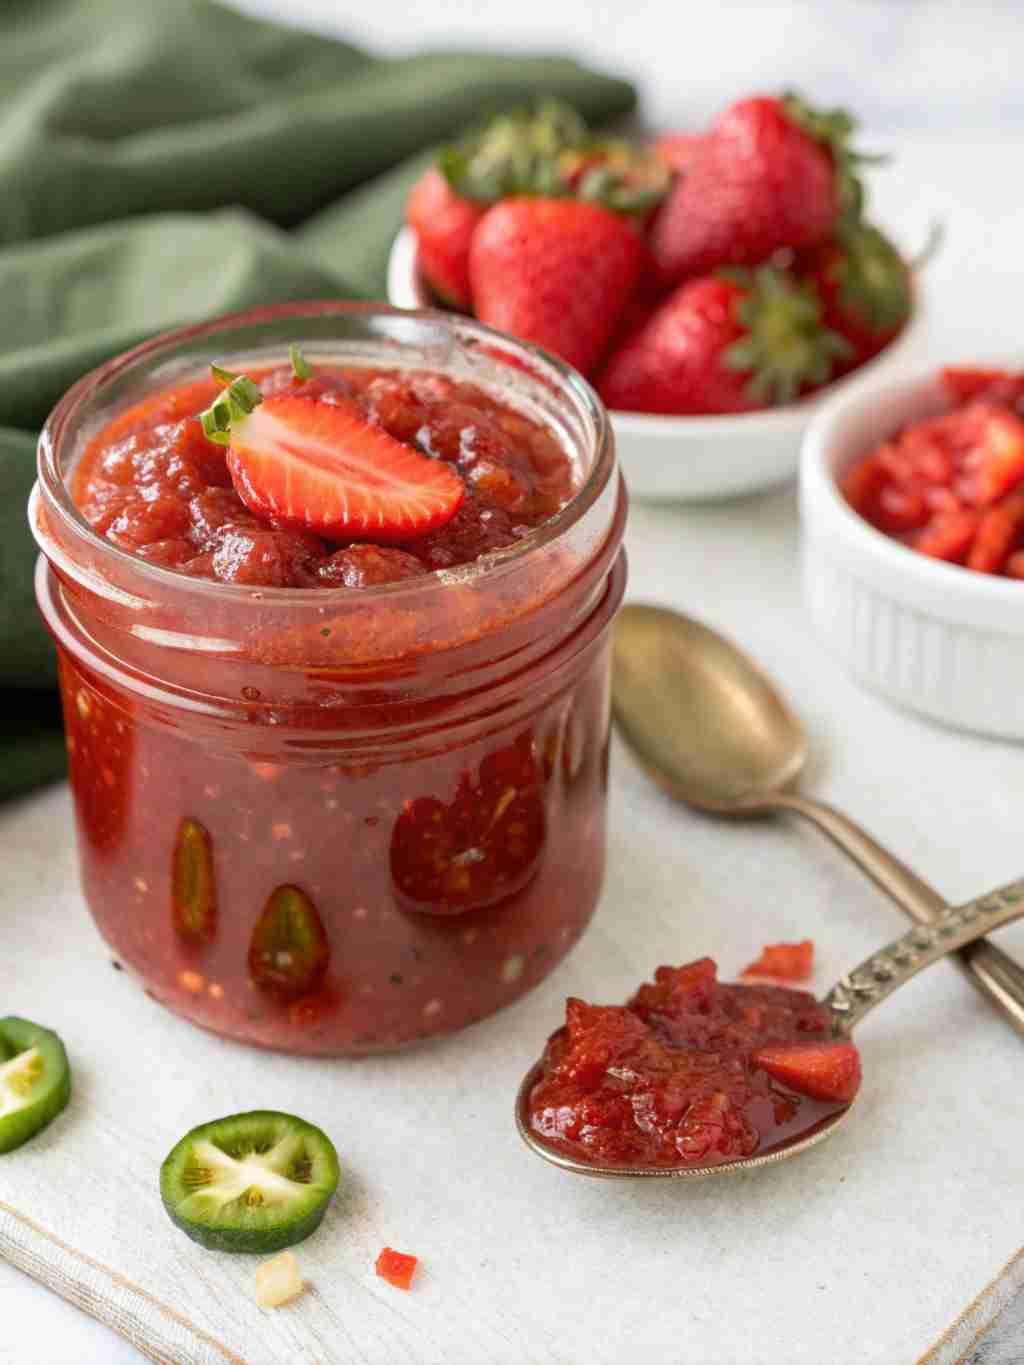
Are you ready to experience a flavor explosion? This strawberry jalapeño jam recipe is your ticket to a sweet and spicy sensation that will elevate your culinary creations to a whole new level. Forget boring, plain jams – we’re about to embark on a journey into a world where sweet strawberries meet the fiery kick of jalapeños, creating a jam you won’t be able to put down!
What is Strawberry Jalapeño Jam?
Have you ever wondered where the name “strawberry jalapeño jam” comes from? Is it a secret handshake between strawberries and jalapeños? A clandestine meeting in the farmers’ market? Or perhaps a culinary dare that spiraled into deliciousness? We may never know the true origin of this wonderfully weird combination.
But one thing is for sure: the name perfectly describes what you’re getting! It’s sweet. It’s spicy. And it’s utterly addictive. They say ‘the way to a man’s heart is through his stomach….” Well, I say, the way to a everyone’s heart is through the stomach with something unexpected and delicious like this jam. Ready to jump into this sweet and spicy adventure? Give this recipe a whirl – you won’t regret it!
Why You’ll Love This Strawberry Jalapeño Jam:
Get ready to fall head over heels for this strawberry jalapeño jam! The main highlight is the unexpected flavor combination – the sweetness of ripe strawberries perfectly balanced by the heat of fresh jalapeños. It’s a party in your mouth! Making jam at home is also incredibly cost-effective. You can save a significant amount of money compared to buying specialty jams from the store. Plus, you get to control the ingredients, ensuring a fresh and natural product.
This jam is also enhanced with a touch of lemon juice to brighten the flavors and apple pectin to ensure perfect set. If you are looking for a sweeter berry flavor, check out my raspberry chipotle jam recipe. Ready to make a jam that will set your tastebuds on fire? Let’s get cooking!
Key Ingredients for Strawberry Jalapeño Jam:
Here’s what you’ll need to make this sweet and spicy sensation. Before we get started, it’s important to note that prep work is everything in jam making! I recommend that you pre-measure all of the ingredients into separate glass bowls – this is called Mise en Place, and will make the production of jam effortless.
- 4 cups (about 2 pounds) fresh strawberries, hulled and coarsely chopped: Fresh, ripe strawberries are the star of the show, offering a juicy sweetness.
- 2-3 jalapeño peppers, seeded and finely minced: The heat factor is up to you! Use 2 for a milder kick, 3 for a more noticeable spice. Remove the seeds for less heat, or leave some in for a bigger blaze! Be very careful and use gloves when handling jalapeños!
- 1/4 cup apple pectin : This naturally-occurring substance, typically harvested from apples, aids in thickening the jam.
- 1/4 cup freshly squeezed lemon juice: The lemon juice adds brightness and acidity, which helps balance the sweetness and also aids in setting the jam. Use fresh lemon juice for the best flavor. Bottled lemon juice can have a metallic taste.
- 4 cups granulated sugar: The sugar is not just for sweetness; it also acts as a preservative and helps the jam set properly.
- Optional: 1 tablespoon butter: Adding a touch of butter can help reduce foaming during the cooking process. It’s not essential, but it can be helpful.
How to Make Strawberry Jalapeño Jam:
This strawberry jalapeño jam recipe is surprisingly easy! It’s a delightful balance of sweet and spicy, taking only about 45 minutes from start to finish. The beauty of this jam lies in its simplicity, allowing the fresh flavors of strawberries and jalapeños to truly shine. Ready to experience the magic?
Step-by-Step Instructions:
- Prepare the Strawberries and Jalapeños: Wash and hull the strawberries, then coarsely chop them. Finely mince the jalapeños, removing the seeds for a milder heat. Remember to wear gloves when handling jalapeños and avoid touching your face!
- Combine Ingredients: In a large, heavy-bottomed stainless steel pot, combine the chopped strawberries, minced jalapeños, granulated sugar, apple pectin and lemon juice. Stir well to ensure all ingredients are evenly distributed.
- Cook the Jam: Place the pot over medium-high heat and bring the mixture to a rolling boil, stirring constantly to prevent sticking.
- Test for Setting Point: Use any of the below methods to determine if your jam has set:
- Thermometer: Clip a thermometer to the side of the pan, making sure that it does not touch the bottom. Once the thermometer reaches 220°F, (104°C) remove from heat. If it has not thickened by this point, place back onto a burner set to medium, and test again.
- Cold Plate Test: Place a metal spoon in the freezer for 30 minutes to chill thoroughly. Dip the back surface (the outer surface) of the chilled spoon into the boiling jelly, then quickly hold the spoon horizontally with surface facing up. If the drop of jelly wrinkles or forms a sheet when you push it with your finger, it has set.
- Sheet Test: Place a metal spoon in the freezer for 30 minutes to chill thoroughly. Insert the spoon into the jam, then raise it above your head. Observe the jam as it drips. If it forms “sheets” of jam instead of individual drops, it has set.
- Process: Once the desired thickness has been achieved, or the proper temperature, you can begin transferring the jam into sterilized canning jars. Immediately process both methods for 10 minutes.
- Canning Method: Place the glass containers in a small canning rack within a large pan. Fill each jar with 1/4 inch headspace, then immediately place the lids and secure without over-tightening. Fill the canner with purified water, making sure that the top of the containers are well-covered with water (at least 1 inch). Heat the mixture to boiling and continue cooking for 10 minutes.
- Alternative Method for Refridgeration: Carefully transfer the hot jam into sterilized jars, leaving about 1/4 inch of headspace. Wipe the rims clean with a damp cloth, then seal with sterilized lids and rings. Allow the jars to cool completely at room temperature. As the jars cool, you should hear a “pop” sound, indicating that they have properly sealed. If a jar doesn’t seal, store it in the refrigerator and use it within a few weeks.
What to Serve Strawberry Jalapeño Jam With:

This strawberry jalapeño jam is incredibly versatile! It’s fantastic slathered on crackers with cream cheese, adding a sweet and spicy kick to your cheeseboard. Try it as a glaze for grilled chicken or pork for a sticky, flavorful crust. Spread it on toast or bagels for a unique breakfast treat. For a truly decadent experience, pair it with vanilla ice cream for a sweet and spicy dessert that will tantalize your taste buds. A grilled cheese sandwich with a smear of this jam is also divine pairing!
Top Tips for Perfecting Strawberry Jalapeño Jam:
- Adjust the Heat: For a milder jam, use fewer jalapeños or remove all the seeds and membranes. For a spicier jam, leave some of the seeds in or use hotter varieties of peppers.
- Use a Heavy-Bottomed Pot: A heavy-bottomed pot evenly distributes heat, preventing scorching and ensuring even cooking.
- Sterilize Your Jars: Sterilizing your jars is crucial for safe canning. You can do this by boiling the jars and lids in water for 10 minutes before filling them with jam.
- Test for Setting: If you’re unsure if the jam has set, use the “cold plate test.” Place a small spoonful of jam on a chilled plate and let it sit for a minute. If it wrinkles when you push it with your finger, it’s ready.
- Add a Touch of Butter: Adding a tablespoon of butter at the end of cooking can help reduce foaming and create a smoother jam.
- Do not skip the lemon juice! The lemon juice acts as a binding agent and intensifies the flavor of the fruit.
Storing and Reheating Tips:
- Unopened Jars: Properly canned jars of strawberry jalapeño jam can be stored in a cool, dark place for up to 18 months.
- Opened Jars: Once opened, store the jam in the refrigerator for up to 3 weeks.
- Freezing: While not ideal, you can freeze jam in airtight containers for up to 3 months. The texture may change slightly after thawing.
- Reheating: This jam is best served at room temperature or slightly chilled. No reheating is necessary.
Final Thoughts:
Are you ready to redefine your jam experience? This strawberry jalapeño jam is more than just a condiment; it’s a flavor adventure. It’s the perfect balance of sweet and spicy, offering a unique twist on a classic spread. Whether you’re a seasoned jam maker or a curious beginner, this recipe is sure to impress. So gather your ingredients, put on your apron, and get ready to create a jam that will tantalize your taste buds and leave you craving more. Happy jamming!
FAQs:
- Can I use frozen strawberries for this recipe? Fresh strawberries are preferred for the best flavor and texture. However, you can use frozen strawberries in a pinch. Be sure to thaw them completely and drain off any excess liquid before using.
- Can I substitute the lemon juice with something else? Lemon juice is crucial for its acidity, which helps the jam set. You can substitute it with lime juice in a pinch, but the flavor will be slightly different.
- How do I know if my jam is properly sealed? After processing, you should hear a “pop” sound as the jars cool. This indicates that the lids have properly sealed. You can also check by pressing down on the center of the lid. If it doesn’t move, it’s sealed. If it flexes, it’s not sealed and should be stored in the refrigerator.
- Can I make this jam without canning it? Yes, you can! Follow the recipe as is, but skip the canning process. Instead, transfer the hot jam into sterilized jars and store it in the refrigerator for up to 3 weeks.
- What if my jam doesn’t set? If your jam doesn’t set, don’t despair! You can try re-cooking it by adding a little more lemon juice or apple pectin and boiling it for a few more minutes. Alternatively, you can embrace its syrup-like consistency and use it as a delicious topping for pancakes, waffles, or ice cream.
try also : Easy Pumpkin Dump Cake Recipe and find more in pinterest

