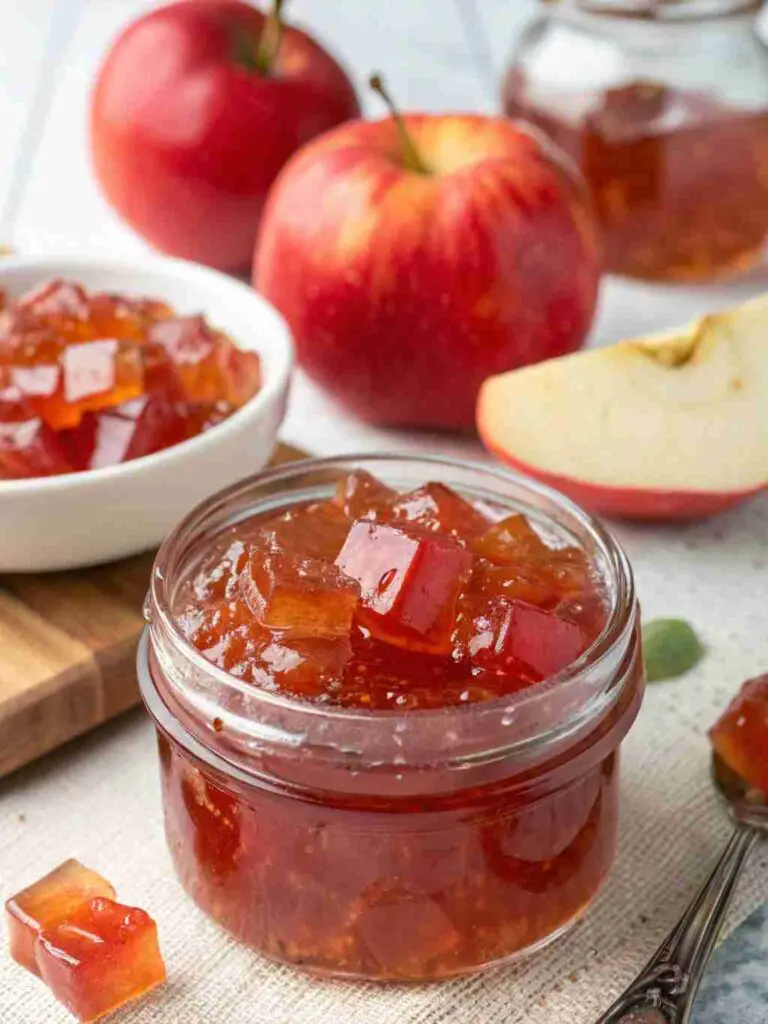
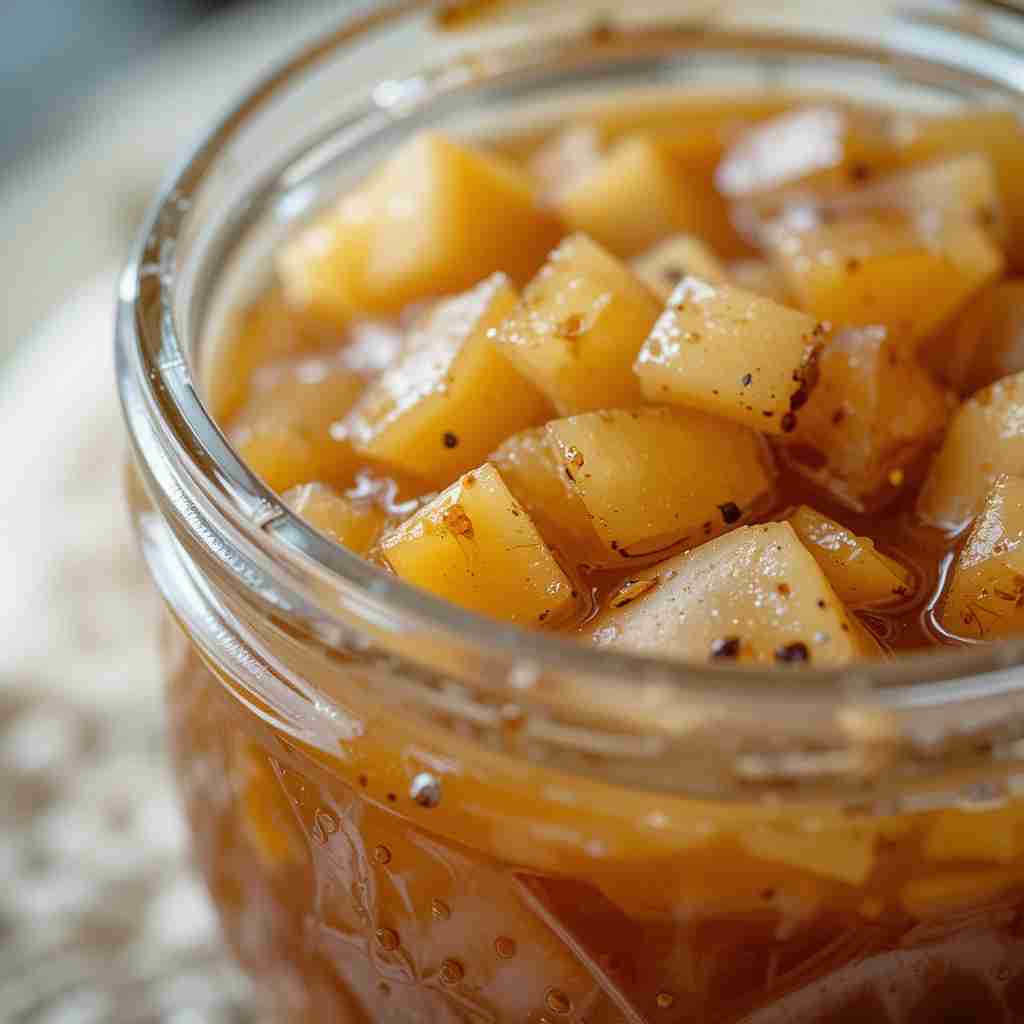
Are you looking for a delicious, zero-waste way to use up those apple cores and peels? This Apple Scrap Jelly Recipe For Canning is the perfect answer! It’s a surprisingly simple and rewarding project that transforms kitchen scraps into a beautiful, flavorful jelly you can enjoy all year long. This recipe is ideal for canning, ensuring a long shelf life and making it perfect for gifting or stocking your pantry. So, instead of tossing those apple leftovers, let’s turn them into something truly special!
What is Apple Scrap Jelly?
Apple Scrap Jelly… the name alone sparks curiosity, doesn’t it? Is it a mystical concoction brewed by forest elves? Perhaps a secret ingredient in the famed apple pie that launched many ships? Okay, maybe not. But seriously, have you ever wondered why it’s called “scrap” jelly when it tastes so darn good? Some say it’s frugality at its finest – a resourceful way to avoid waste.
Others whisper tales of grandmothers who, with a wink and a knowing smile, proved that the best things in life are often born from the simplest beginnings. After all, they say ‘the way to a man’s heart is through his stomach,’ and who knows, maybe this jelly is the key to capturing everyone’s heart! So, are you ready to transform your “trash” into treasure? Give this Apple Scrap Jelly Recipe a try – you won’t regret it!
Key Ingredients for Apple Scrap Jelly:
Here’s a visual of all the ingredients you’ll need to whip up a batch of this magical jelly:
Ingredients:
- Apple Scraps (Cores and Peels): 4 cups, packed. Use scraps from any variety of apples (organic preferred!), ensuring they are clean and free from bruised or rotten spots.
- Water: 6 cups. Filtered water provides the purest flavor for your jelly.
- Granulated Sugar: 3-4 cups (depending on the sweetness of the apples). Adjust to taste after the juice is extracted.
- Lemon Juice: 2 tablespoons. Freshly squeezed lemon juice acts as a natural pectin enhancer and adds brightness to the flavor.
- Pectin (optional): 1 box (1.75oz) powdered pectin OR 3 tablespoons liquid pectin. If your apples are naturally low in pectin, adding pectin will help the jelly set properly.
How to Make Apple Scrap Jelly:
This recipe is surprisingly easy, even for beginners! You’ll transform those apple scraps into a beautiful, glistening jelly with minimal effort. The hardest part is simply waiting for the jelly to set! The prep time is minimal, and the cooking time is approximately 45 minutes, plus cooling time. This jelly boasts a delicate apple flavor that’s both sweet and tart, making it a delicious addition to toast, biscuits, or even as a glaze for meats.
Step-by-Step Instructions:
Prepare the Apple Scraps: Gather approximately 4 cups of apple scraps (cores and peels). Ensure the apples are washed thoroughly. Remove any bruised or excessively damaged parts. It’s not really required to peel your apple scrap if organic, no need to be neurotic.
Combine with Water: In a large stainless steel pot, combine the apple scraps and 6 cups of water. Make sure the scraps are submerged in the water.
Simmer: Bring the mixture to a boil over medium-high heat. Once boiling, reduce the heat to low, cover, and simmer for 20-30 minutes, or until the apple scraps are soft and pulpy. Stir occasionally to prevent sticking.
Strain the Juice: Place a cheesecloth-lined colander or jelly bag over a large bowl. Carefully pour the cooked apple mixture into the cheesecloth/jelly bag. Allow the juice to drip through undisturbed for at least 2-4 hours, or overnight. Do not squeeze the cheesecloth/jelly bag, as this will result in cloudy jelly. Patience is key here!
Measure the Juice: Once the juice has dripped through, measure the amount of juice you have. You will need to adjust the sugar amount accordingly.
Combine Juice, Sugar, and Lemon Juice: Return the apple juice to the clean stainless steel pot. For every 4 cups of apple juice, add 3-4 cups of granulated sugar (taste and adjust sweetness). Add 2 tablespoons of lemon juice.
Boil and Test for Setting: If you are using pectin, follow the package instructions for adding it to the juice and sugar mixture. Otherwise, bring the mixture to a rolling boil over medium-high heat, stirring constantly to prevent scorching. Boil until the jelly reaches the setting point. To test for setting, place a small spoonful of the hot jelly on a chilled plate that has been in the freezer for at least 5-10 minutes. Let it cool for a few seconds. If the jelly wrinkles when you push it with your finger, it has reached the setting point. If not, continue boiling for a few more minutes and test again.
Canning (Optional): If canning, prepare your jars according to standard canning practices. Ladle the hot jelly into sterilized canning jars, leaving 1/4 inch headspace. Wipe the jar rims clean, place lids on the jars, and screw on the bands fingertip tight.
Process in a Water Bath Canner: Process the jars in a boiling water bath for 10 minutes (adjust processing time for altitude).
Cool and Check Seals: Remove the jars from the canner and place them on a towel-lined surface to cool completely. As the jars cool, you should hear a “pop” sound, indicating that the lids have sealed properly. After cooling for 12-24 hours, check the seals by pressing down on the center of each lid. If the lid doesn’t flex or pop back up, it’s properly sealed. Unsealed jars should be refrigerated and used within a few weeks.
Label and Store: Label the jars with the date and contents. Store in a cool, dark place for up to 1 year.
Why You’ll Love This Apple Scrap Jelly

This jelly isn’t just delicious; it’s a small victory against food waste! The main highlight is its surprisingly delicate apple flavor, offering a perfect balance of sweetness and tartness. Making it at home significantly cuts down on cost compared to buying store-bought jelly. Plus, you control the ingredients, avoiding artificial additives.
The slightly tartness is what makes it special! If you enjoy this no-waste recipe, you might also like learning how to make a vegetable broth from scraps. Eager to transform your kitchen scraps into edible gold? Try this Apple Scrap Jelly recipe!
What to Serve Apple Scrap Jelly With:
Apple Scrap Jelly is incredibly versatile! Here are a few serving suggestions:
- Toast and Biscuits: A classic pairing for a simple breakfast or snack.
- Peanut Butter and Jelly Sandwiches: Elevate your PB&J with homemade apple jelly.
- Cheese and Crackers: The sweetness of the jelly complements savory cheeses beautifully.
- Pork and Poultry Glaze: Brush a thin layer over roasted pork or chicken during the last 15 minutes of cooking for a delicious glaze.
- Yogurt and Granola: Add a spoonful to your morning yogurt for a touch of sweetness.
Top Tips for Perfecting Apple Scrap Jelly:
- Use a Variety of Apples: Combining different apple varieties (e.g., tart Granny Smith with sweeter Honeycrisp) will create a more complex and flavorful jelly.
- Don’t Squeeze the Cheesecloth: Squeezing the cheesecloth will result in cloudy jelly. Let the juice drip naturally.
- Adjust Sugar to Taste: The amount of sugar needed will depend on the sweetness of your apples. Taste the juice after it’s been extracted and adjust the sugar accordingly.
- Chill a Spoon Before Testing: For an easier setting test, chill a metal spoon in the freezer along with the plate.
- Sanitize Jars Properly: Proper sanitation is crucial for safe canning. Always sterilize your jars and follow standard canning procedures.
- Avoid Overboiling: Overboiling can result in a tough, overly firm jelly. Test for setting frequently.
Storing and Reheating Tips:
- Uncanned Jelly: If you choose not to can the jelly, store it in an airtight container in the refrigerator for up to 2 weeks.
- Canned Jelly: Properly canned jelly can be stored in a cool, dark place for up to 1 year.
- Freezing: While not ideal, you can freeze jelly for up to 3 months. However, the texture may change slightly upon thawing. To freeze, transfer the jelly to a freezer-safe container, leaving some headspace for expansion. Thaw in the refrigerator overnight before using.
- Reheating: No reheating is needed for jelly unless you’re using it as a glaze.
Final Thoughts:
This Apple Scrap Jelly Recipe is more than just a way to make jelly; it’s a testament to resourcefulness and a commitment to reducing food waste. By transforming apple cores and peels into a delightful spread, you’re not only saving money but also creating something truly special. It’s a rewarding project that brings the flavors of fall to your table all year round. So gather those apple scraps, put on your apron, and get ready to enjoy the sweet taste of success!
FAQs:
Q: Can I use any type of apples for this jelly?
A: Yes, you can use any variety of apples. A mix of tart and sweet apples is ideal for a balanced flavor. Organic apples are preferred, as you’ll be using the peels.
Q: Do I have to use pectin?
A: No, you don’t have to use pectin. However, if your apples are naturally low in pectin, your jelly might not set properly. Refer to pectin package directions and testing the jelly for “sheet” is a useful method of knowing when the jelly is setting.
Q: My jelly is cloudy. What went wrong?
A: Cloudy jelly is often caused by squeezing the cheesecloth or jelly bag when straining the juice. Let the juice drip naturally for the best results.
Q: How do I know if my jars are properly sealed?
A: After processing and cooling, check the seals by pressing down on the center of each lid. If the lid doesn’t flex or pop back up, it’s properly sealed. You should also hear a “pop” sound as the jars cool.
Q: Can I double or triple this recipe?
A: Yes, you can easily double or triple the recipe. Just be sure to use a pot large enough to accommodate the increased volume.
try also : Easy Pumpkin Dump Cake Recipe and find more in pinterest

