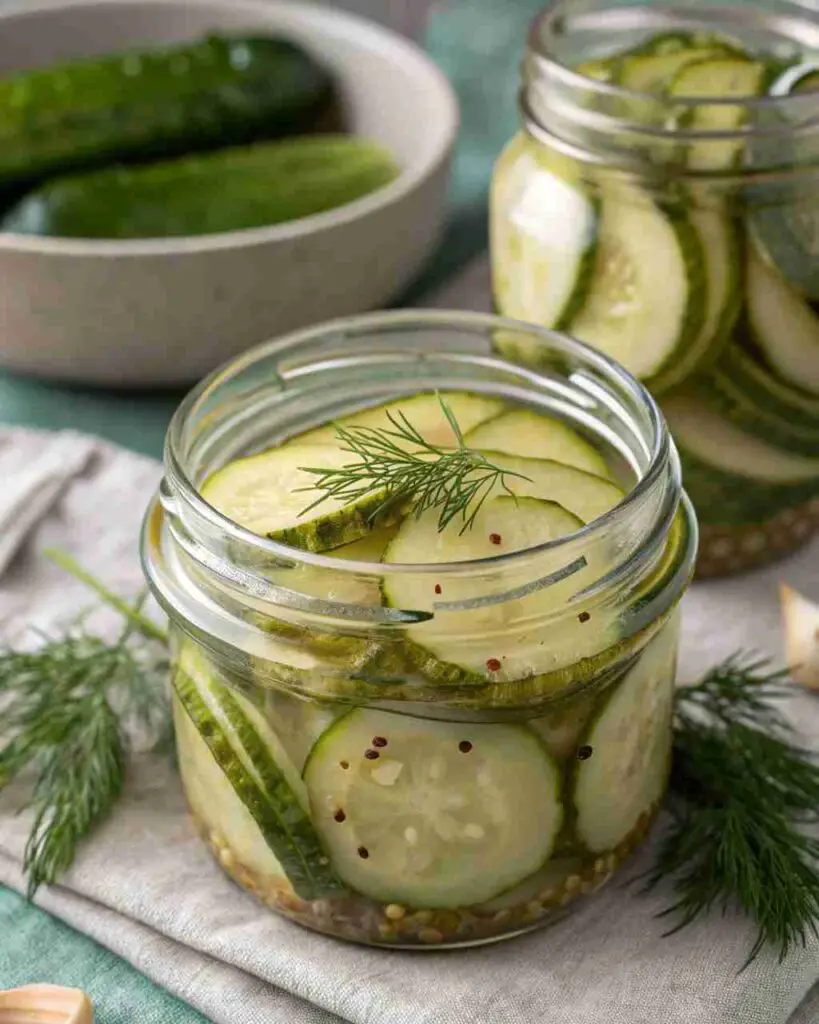
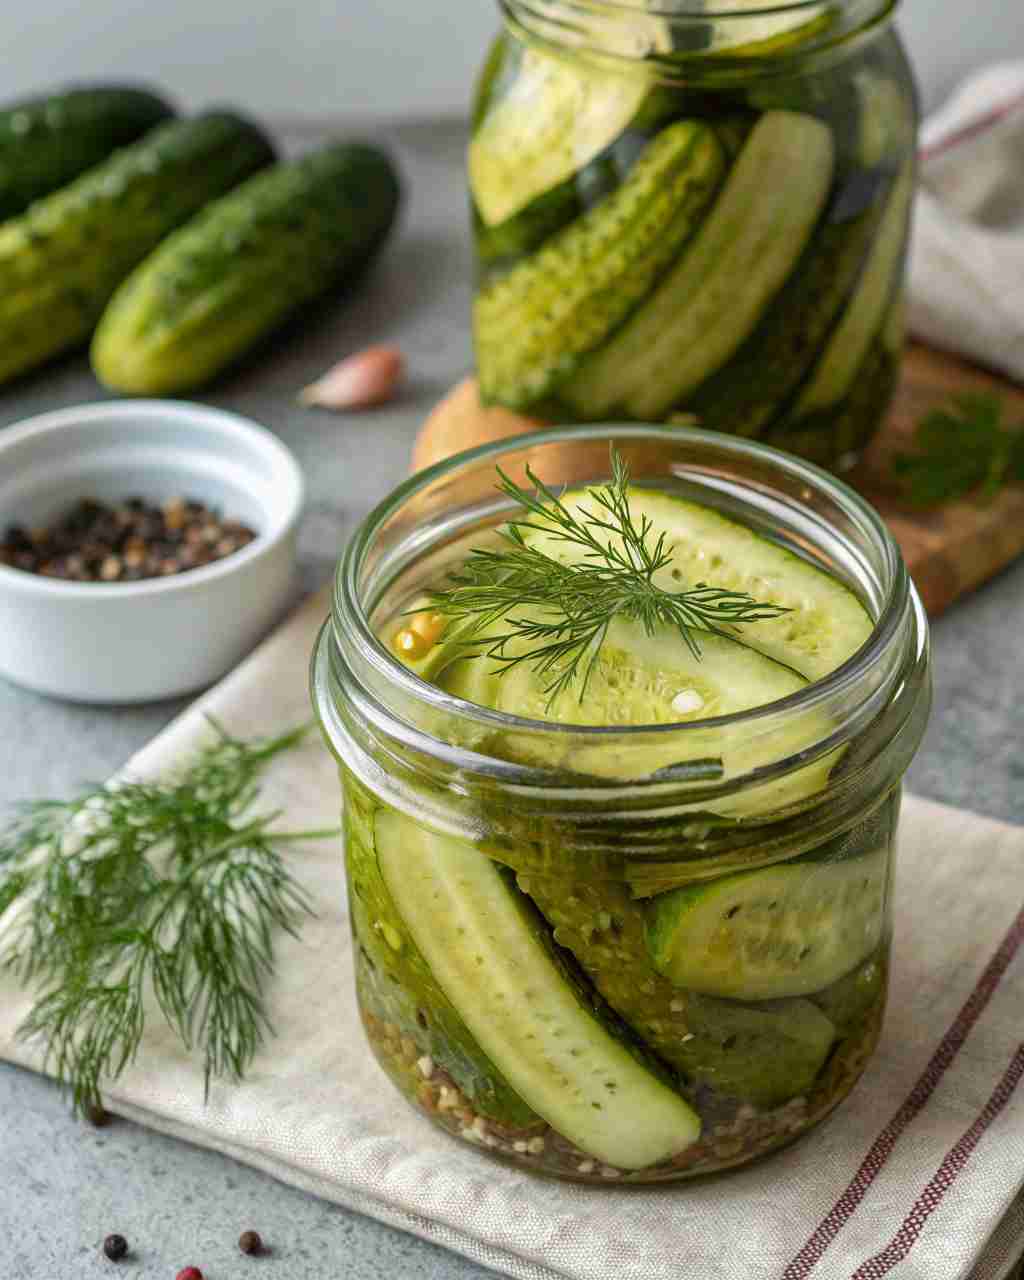
Looking for a quick and easy way to enjoy crunchy, flavorful pickles? This Dill Refrigerator Pickles recipe delivers perfectly crisp and tangy pickles without any canning required!
What are Dill Refrigerator Pickles?
Dill Refrigerator Pickles! The name itself conjures up nostalgic images of grandma’s kitchen, doesn’t it? But have you ever stopped to wonder why they’re called “refrigerator” pickles? Is it because that’s where they live? Or is there a deeper, pickle-y conspiracy afoot? Maybe it’s because these are so easy to make, they can be whipped up faster than grandpa can tell his “back in my day” stories.
Instead of going through the whole canning process, these crunchy cucumbers get their tangy flavor from a simple brine that infuses them as they chill in the fridge. It’s almost like magic! Some say, ‘the way to a man’s heart is through his stomach,’ but with these quick and tasty pickles, it could be straight to his refrigerator! So, skip the mystery and join the chill, try our Dill Refrigerator Pickles recipe today!
Why You’ll Love This Dill Refrigerator Pickles Recipe:
These Dill Refrigerator Pickles are a total game-changer! The real highlight is their incredible crunch. Unlike traditional pickles that can sometimes get a bit soft, these stay nice and crisp, giving you that satisfying snap with every bite.
Plus, making them at home is a huge money-saver. Store-bought pickles can be pricey, but with just a few ingredients you probably already have, you can make a big batch of these for a fraction of the cost. And let’s not forget the star of the show: fresh dill. It infuses the pickles with a vibrant, herby flavor that is simply irresistible. Feel free to add garlic cloves, mustard seeds, or even a pinch of red pepper flakes for an extra kick!
If you enjoy making things from scratch, why not explore our Fermented Pickles recipe as well? But for now, let’s keep things simple and delicious. Ready to start pickling? Grab your cucumbers and let’s get going!
Key Ingredients for Dill Refrigerator Pickles:
Here’s what you’ll need to make these deliciously crunchy pickles:
- 2 pounds pickling cucumbers: Look for firm, small to medium cucumbers for the best crunch.
- 2 cups white vinegar: The acid in the vinegar is crucial for pickling and preserving.
- 2 cups water: Dilutes the vinegar and helps create the brine.
- 1/4 cup pickling salt: Pickling salt is pure sodium chloride, free of iodine and anti-caking agents that can darken pickles. If you don’t have it, kosher salt is a good substitute.
- 4 cloves garlic, smashed: Adds a pungent flavor. Smashed garlic releases more flavor than minced.
- 4 sprigs fresh dill: Fresh dill provides a signature pickle flavor.
- 1 teaspoon black peppercorns: Adds a subtle peppery bite.
- 1 teaspoon mustard seeds: Contributes to the pickling flavor with a hint of sharpness.
- 1/2 teaspoon red pepper flakes (optional): For a little heat.
How to Make Dill Refrigerator Pickles:
This recipe is incredibly easy and takes just minutes to prepare! You’ll get those perfect crunchy pickles with a satisfying dill flavor, ready to enjoy after a few hours in the fridge. The prep time is about 15 minutes but remember to set aside chill time for the best result!
Step-by-Step Instructions:
Prepare the Cucumbers: Wash the cucumbers thoroughly. You can slice them into spears, rounds, or leave them whole, depending on your preference. If using bigger cucumbers, cutting them into spears is recommended.
Combine Brine Ingredients: In a medium saucepan, combine the white vinegar, water, and pickling salt. Bring the mixture to a boil over medium-high heat, stirring until the salt is completely dissolved. Once dissolved, remove the saucepan from the heat and let it cool slightly.
Pack the Jars: While the brine cools, prepare your jars. You will need clean, sanitized jars. Pack the cucumbers into the jars, leaving about an inch of space at the top. Evenly divide the smashed garlic cloves, fresh dill sprigs, black peppercorns, mustard seeds, and red pepper flakes (if using) among the jars.
Pour the Brine: Once the brine has cooled slightly, carefully pour it over the cucumbers in each jar, ensuring that the cucumbers are completely submerged. If necessary, add a bit more water to fully cover the cucumbers.
Seal and Refrigerate: Seal the jars tightly with lids. Let the jars cool to room temperature, then transfer them to the refrigerator.
Chill and Enjoy: Allow the pickles to chill in the refrigerator for at least 24 hours before enjoying. The longer they sit, the more flavorful they will become. They are best after 2-3 days, but can be eaten sooner if you can’t wait!
What to Serve Dill Refrigerator Pickles With

Dill Refrigerator Pickles are incredibly versatile and can be enjoyed in many ways. Here are a few ideas:
- Sandwiches and Burgers: Add a crunchy, tangy kick to your favorite sandwiches and burgers.
- Charcuterie Boards: Include these pickles on a charcuterie board for a refreshing, acidic contrast to rich cheeses and meats.
- Salads: Chop them up and add them to salads for extra flavor and texture.
- Grilled Meats: Serve them alongside grilled chicken, steak, or pork for a classic pairing.
- As a Snack: Enjoy them straight from the jar as a refreshing and low-calorie snack!
- Tuna Salad: Diced up and mixed into a Tuna salad that adds a nice zest.
- Bloody Mary: Serve with your favorite Bloody Mary for an extra kick!
Top Tips for Perfecting Dill Refrigerator Pickles:
- Use Fresh, Firm Cucumbers: The quality of your cucumbers directly impacts the crunchiness of your pickles. Look for small to medium-sized cucumbers that are firm to the touch.
- Don’t Skip the Salt: Pickling salt is essential for drawing out moisture from the cucumbers and creating the right environment for preservation. If you can’t find pickling salt, kosher salt is a decent substitute, but avoid table salt, as it contains iodine and anti-caking agents that can affect the flavor and color of the pickles.
- Adjust the Spices: Feel free to customize the flavor by adjusting the spices. Add more garlic, dill, or red pepper flakes to suit your taste. You can also experiment with other spices like coriander seeds, bay leaves, or even a pinch of turmeric for color.
- Ensure Brine Coverage: Make sure the brine covers completely the cucumbers to prevent spoilage.
- Patience is Key: While you can technically eat these pickles after 24 hours, they will taste much better if you let them sit in the refrigerator for at least 2-3 days. This allows the flavors to fully develop.
- Use Glass Jars: Avoid plastic containers; glass jars are best for preserving pickles. Make sure the jars are clean and sanitized before packing them.
- Don’t Overpack the Jars: Leave some room in the jars when packing the cucumbers to allow the brine to circulate and properly pickle all the pieces.
- Maintain Constant Temperature: Keep the pickles refrigerated consistently to maintain their great taste.
Storing and Reheating Tips:
- Storage: Dill Refrigerator Pickles should be stored in the refrigerator at all times. Properly sealed, they will last for about 2-3 months. Be sure to use clean utensils each time you take pickles out of the jar to prevent contamination.
- Freezing: While it’s not recommended to freeze these pickles, as it can affect their texture, you can freeze the brine only. If you have leftover brine, freeze it in ice cube trays for future use in cocktails, salad dressings, or marinades.
- Reheating: These pickles are intended to be eaten cold, so there’s no need to reheat them. Just grab them straight from the fridge and enjoy!
Final Thoughts:
Making Dill Refrigerator Pickles at home is a simple and rewarding way to enjoy fresh, crunchy pickles any time you want. With just a few basic ingredients and a little bit of patience, you can create a batch of pickles that are far superior to anything you’ll find in a store.
These pickles are not only delicious but also versatile, making them a perfect addition to sandwiches, salads, charcuterie boards, and more. So, ditch the store-bought stuff and get ready to enjoy the delightful crunch and tangy flavor of homemade Dill Refrigerator Pickles!
try also : Easy Pumpkin Dump Cake Recipe and find more in pinterest

