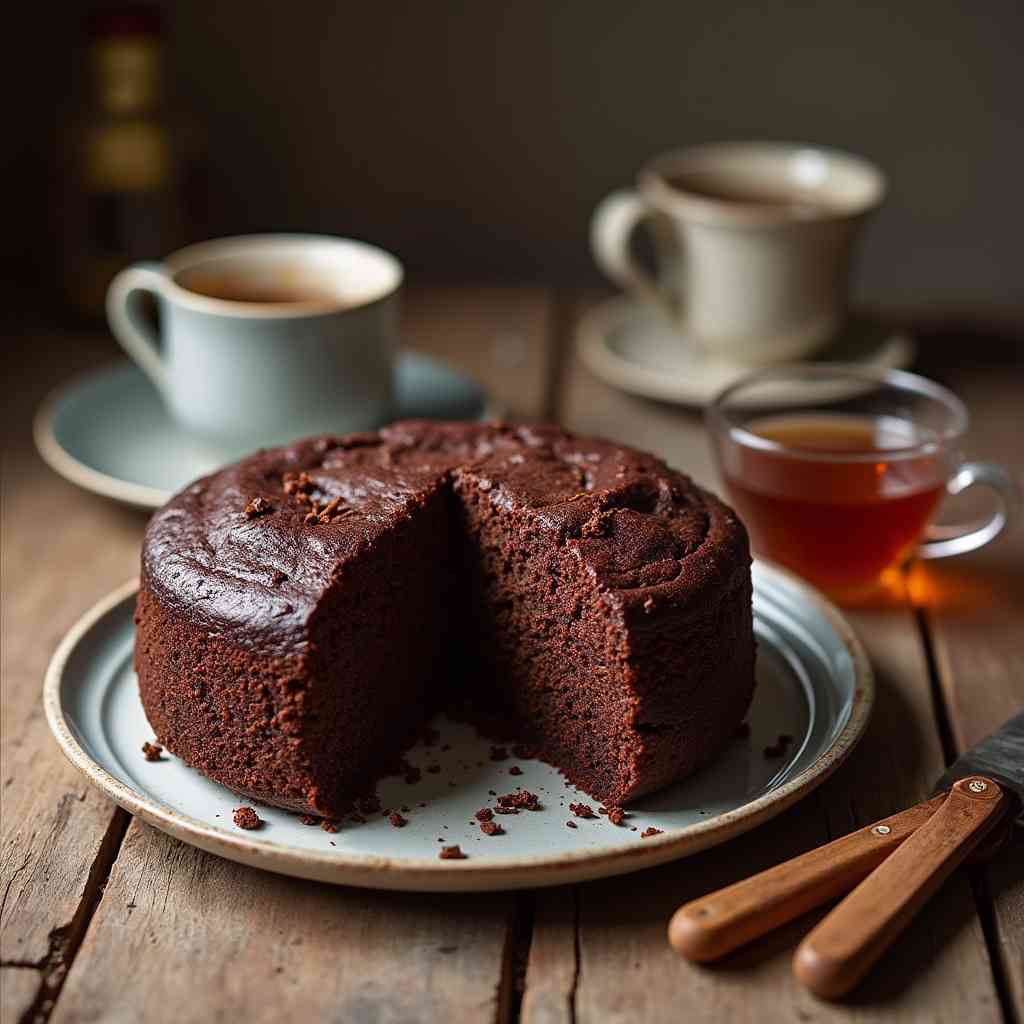
Imagine the warm aroma of semolina mingling with rich cocoa, filling your kitchen with an irresistible promise: a slice of homemade chocolate suji cake. Whether it’s a cozy afternoon treat or the star of your next celebration, this cake brings together the best of both worlds—moist, tender crumb and deep chocolate flavor. In this article, I’ll walk you through every detail of crafting this delightful dessert from scratch. Trust me, once you try it, you’ll never look back!
What Makes Homemade Chocolate Suji Cake Special?

Chocolate suji cake stands apart because it uses semolina (suji) instead of the usual flour, creating a unique, slightly grainy texture that’s both comforting and sophisticated. The semolina soaks up moisture beautifully, resulting in a cake that stays moist for days. Plus, by adding cocoa powder and a hint of vanilla, you get a decadent chocolate flavor that’s surprisingly light. Personally, I love how each bite feels like a cozy hug—truly a one-of-a-kind dessert!
How to Make Homemade Chocolate Suji Cake Step by Step
Quick Overview
- Prep time: 20 minutes (plus 20 minutes resting)
- Bake time: 25–30 minutes
- Serves: 8–10
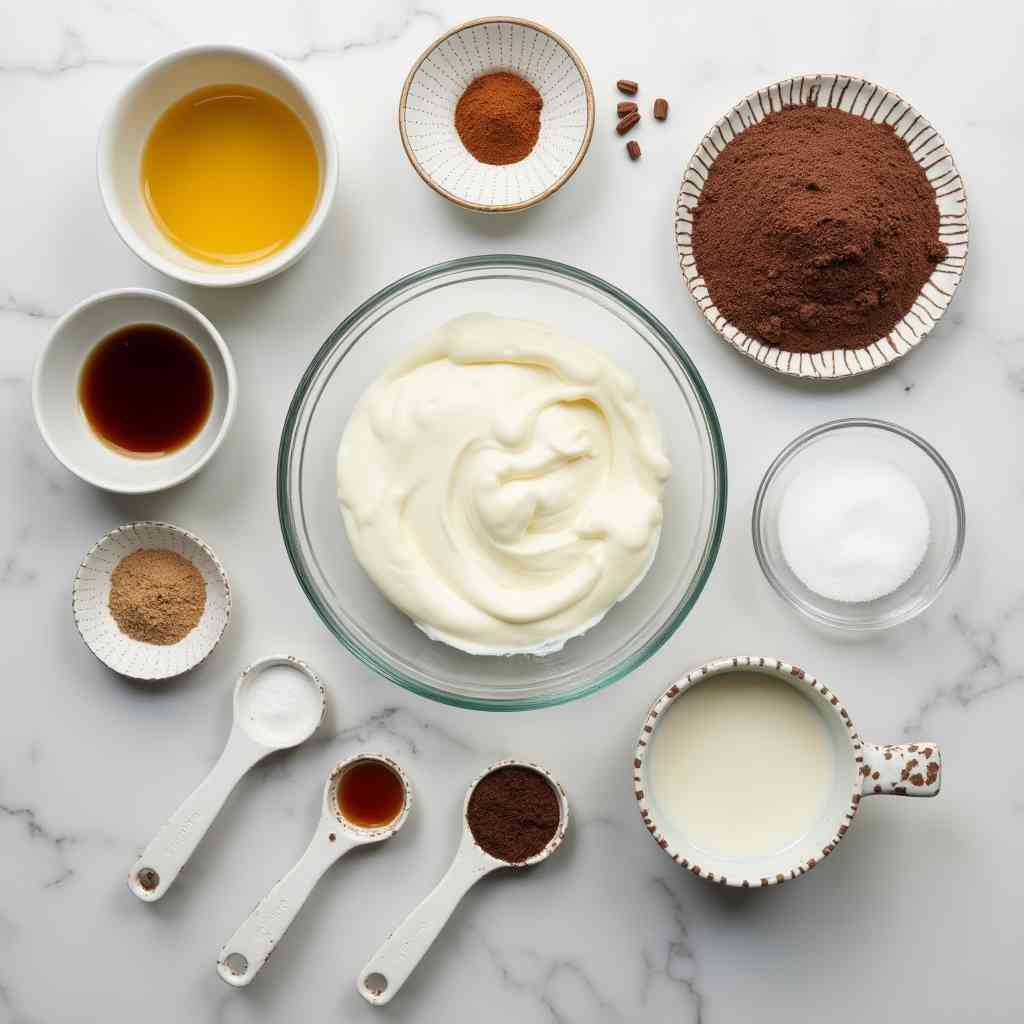
Key Ingredients and Their Importance

- Fine suji (semolina): Provides the distinctive texture and absorbs moisture, keeping the cake tender.
- Unsweetened cocoa powder: Delivers the rich chocolate flavor.
- Yogurt (or curd): Adds moisture and a slight tang, balancing the sweetness.
- Oil: Keeps the crumb soft; neutral-flavored oils like sunflower work best.
- Milk: Adjusts batter consistency for a smooth pour.
- Baking powder & baking soda: Ensure a light rise despite the dense semolina.
- Vanilla or chocolate essence: Enhances aroma and depth.
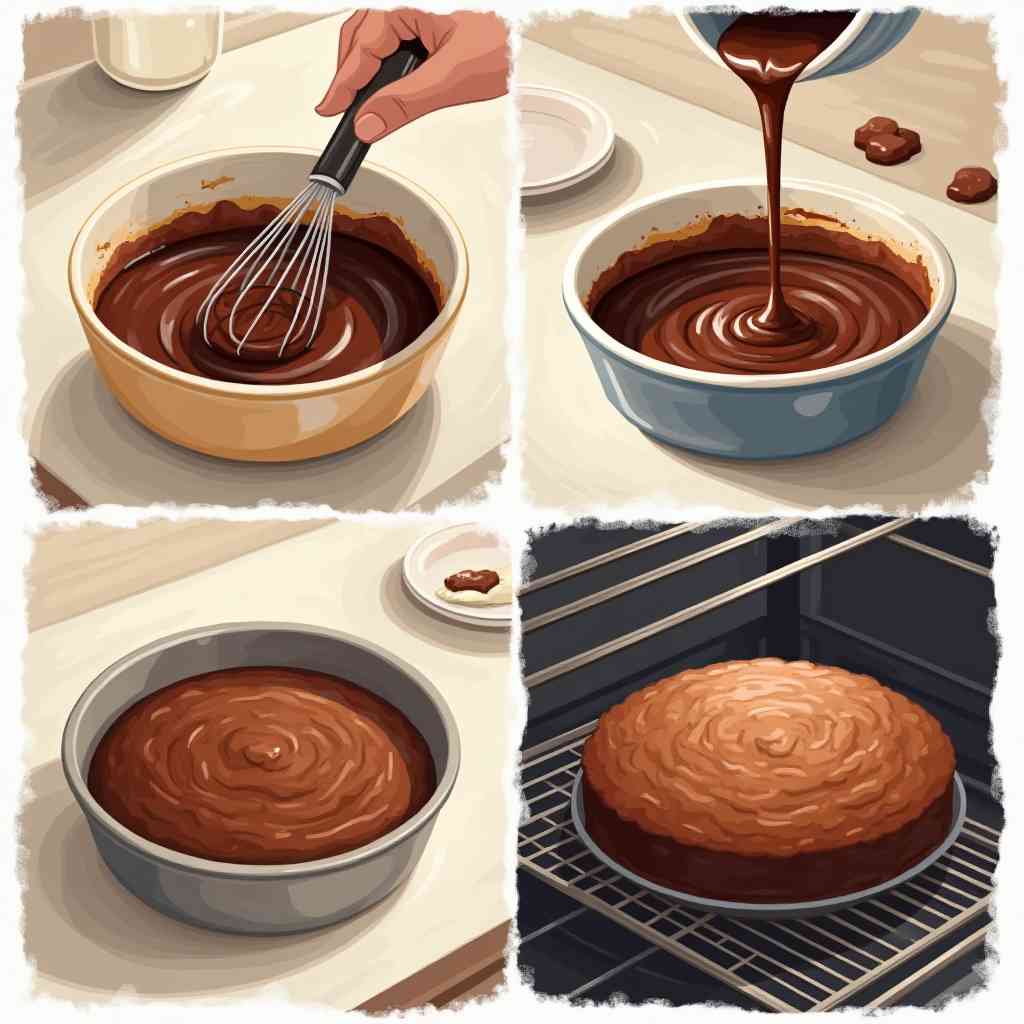
Detailed Step-by-Step Instructions with Expert Tips
- Combine Dry Ingredients
- In a large bowl, whisk together 1 cup suji, ¼ cup cocoa powder, ½ cup powdered sugar, ½ teaspoon baking powder, and ¼ teaspoon baking soda.
- Tip: Sift your cocoa to avoid lumps and ensure even mixing.
- Add Wet Ingredients
- Stir in ½ cup plain yogurt and ¼ cup oil until the mixture resembles coarse crumbs.
- Gradually pour in ½ cup milk, mixing to a smooth batter.
- Tip: Use room-temperature milk and yogurt for better incorporation.
- Rest the Batter
- Let it sit, covered, for 15–20 minutes. The semolina will swell, yielding a more tender cake.
- Personal trick: I often cover the bowl with a clean kitchen towel to trap slight warmth, speeding up absorption.
- Preheat and Prepare
- Preheat your oven to 180 °C (350 °F).
- Grease an 8-inch round pan and line the bottom with parchment paper.
- Add Essence and Final Mix
- Stir in 1 teaspoon vanilla or chocolate essence.
- Give a gentle final mix—don’t over-stir, or the cake may turn dense.
- Bake
- Pour batter into the pan and smooth the top.
- Bake for 25–30 minutes until a toothpick comes out with a few moist crumbs.
- Expert tip: Rotate the pan halfway through baking to ensure even browning.
- Cool and Serve
- Let the cake rest in the pan for 10 minutes, then transfer to a wire rack.
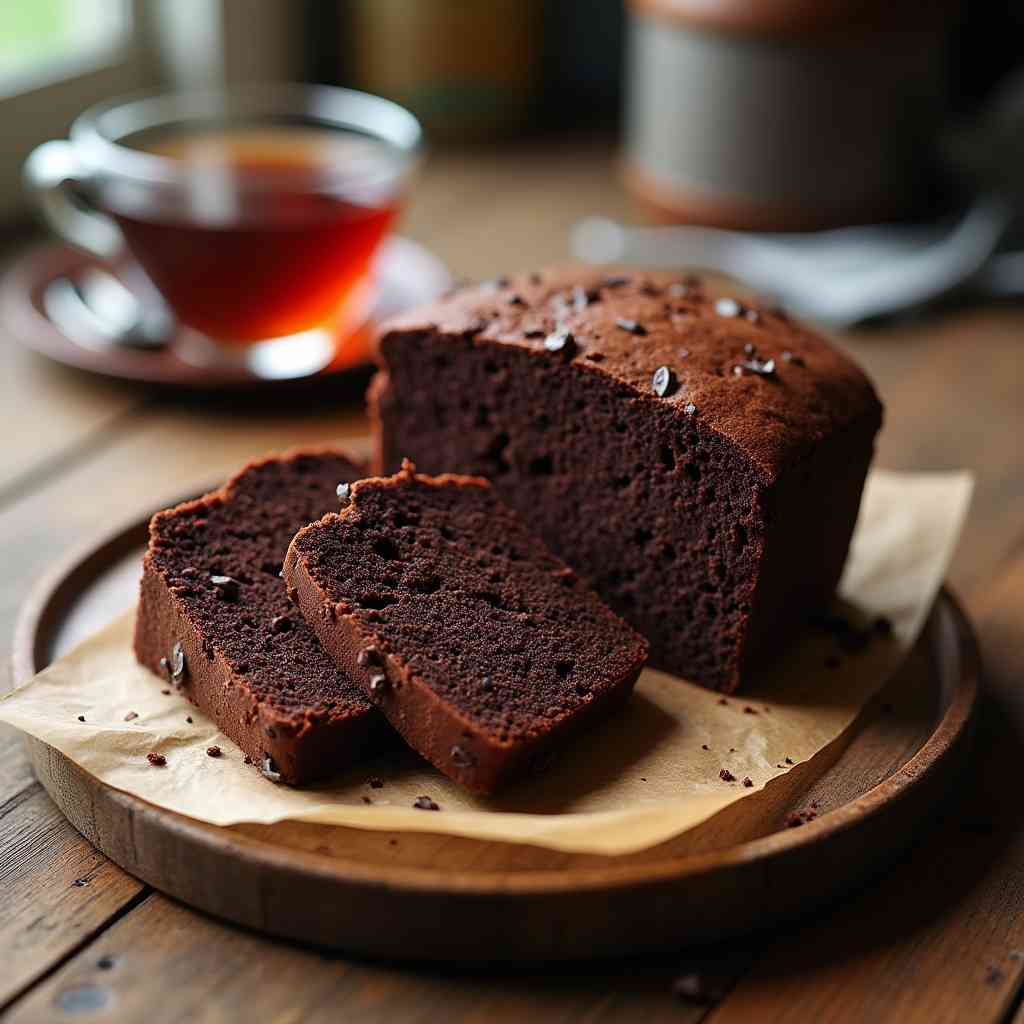
- Slice when fully cool.

Tips for the Best Homemade Chocolate Suji Cake
- Don’t skip the rest: Allowing the semolina to hydrate is crucial for texture.
- Adjust sweetness: Taste your batter before baking; add a little more sugar if you like it extra sweet.
- Flavor twists: Fold in chocolate chips or a handful of chopped nuts for extra crunch.
- Moisture boost: Brush the cooled cake layers with simple syrup (equal parts sugar and water) for added richness.
Recommended Tools
- 8-inch round cake pan: For uniform baking.
- Parchment paper: Prevents sticking and ensures clean edges.
- Whisk & spatula: For efficient mixing without overworking.
- Wire rack: Ideal for cooling evenly.
How to Store Homemade Chocolate Suji Cake for Freshness
- Room temperature: Keep covered at room temperature for up to 2 days.
- Refrigerator: Store in an airtight container—will last 4–5 days, though bring to room temperature before serving to revive softness.
- Freezing: Wrap individual slices in plastic wrap and place in a freezer-safe bag for up to 1 month. Thaw overnight in the fridge.

Homemade Chocolate Suji Cake Recipe
Ingredients
Equipment
Method
- Mix Dry Ingredients: In a bowl, combine suji, cocoa powder, powdered sugar, baking powder, and baking soda.
- Add Wet Ingredients: Stir in yogurt and oil. Gradually mix in milk until a smooth batter forms.
- Rest the Batter: Let the batter rest for 15–20 minutes to allow the semolina to hydrate.
- Preheat Oven: Preheat oven to 180°C (350°F). Grease and line an 8-inch cake pan.
- Add Flavor: Stir in vanilla or chocolate essence.
- Bake: Pour batter into the prepared pan. Bake for 25–30 minutes or until a toothpick comes out clean.
- Cool: Let cool in the pan for 10 minutes, then transfer to a wire rack to cool completely.
- Serve: Slice and enjoy as is, or frost with chocolate ganache or whipped cream.
Notes
More Related Recipes & Articles
If you loved this recipe, you might also enjoy:
- Salmon Cakes Recipe — A savory seafood twist!
- Boston Cream Cake Recipe — Creamy layers for a classic dessert.
- Mini Bundt Cake Recipes — Perfect for individual servings.
- Dubai Chocolate with Strawberry — A glamorous treat.
FAQs
Q: Can I use coarse semolina instead of fine suji?
Fine suji is best for a tender crumb; coarse semolina may yield a gritty texture.
Is this recipe eggless?
Yes, the yogurt and baking soda react to provide lift without eggs.
Can I replace yogurt with buttermilk?
Absolutely! Buttermilk offers similar acidity and moisture.
How can I make this gluten-free?
Substitute semolina with fine cornmeal or a gluten-free flour blend.

Delicious
Yummy