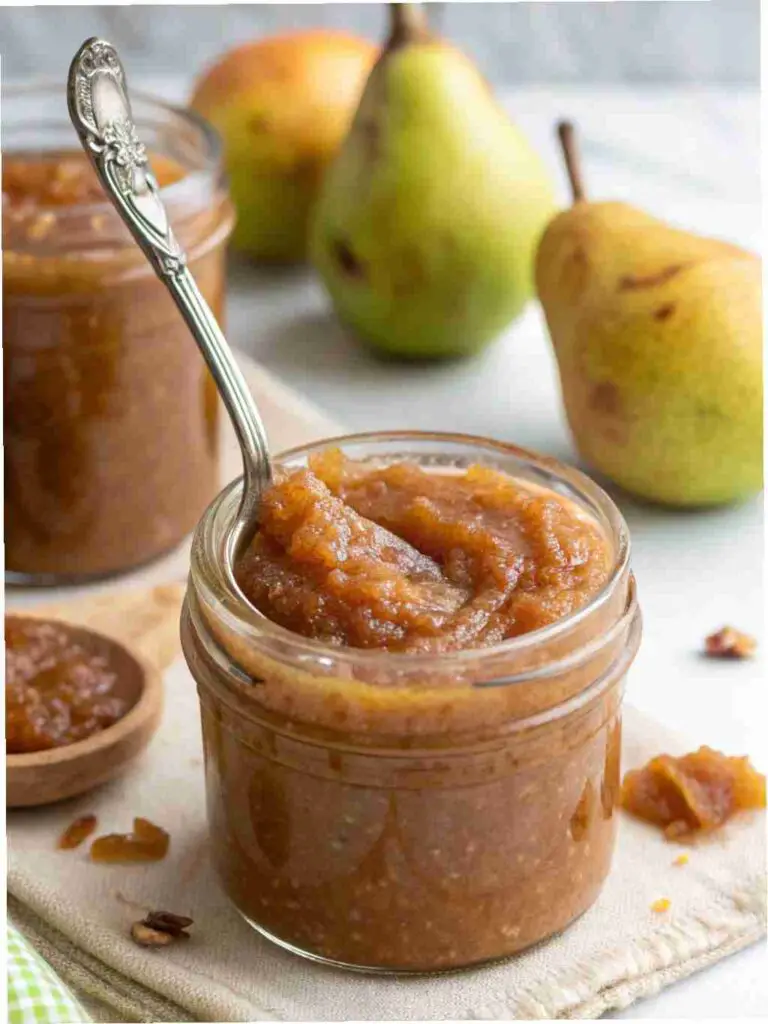
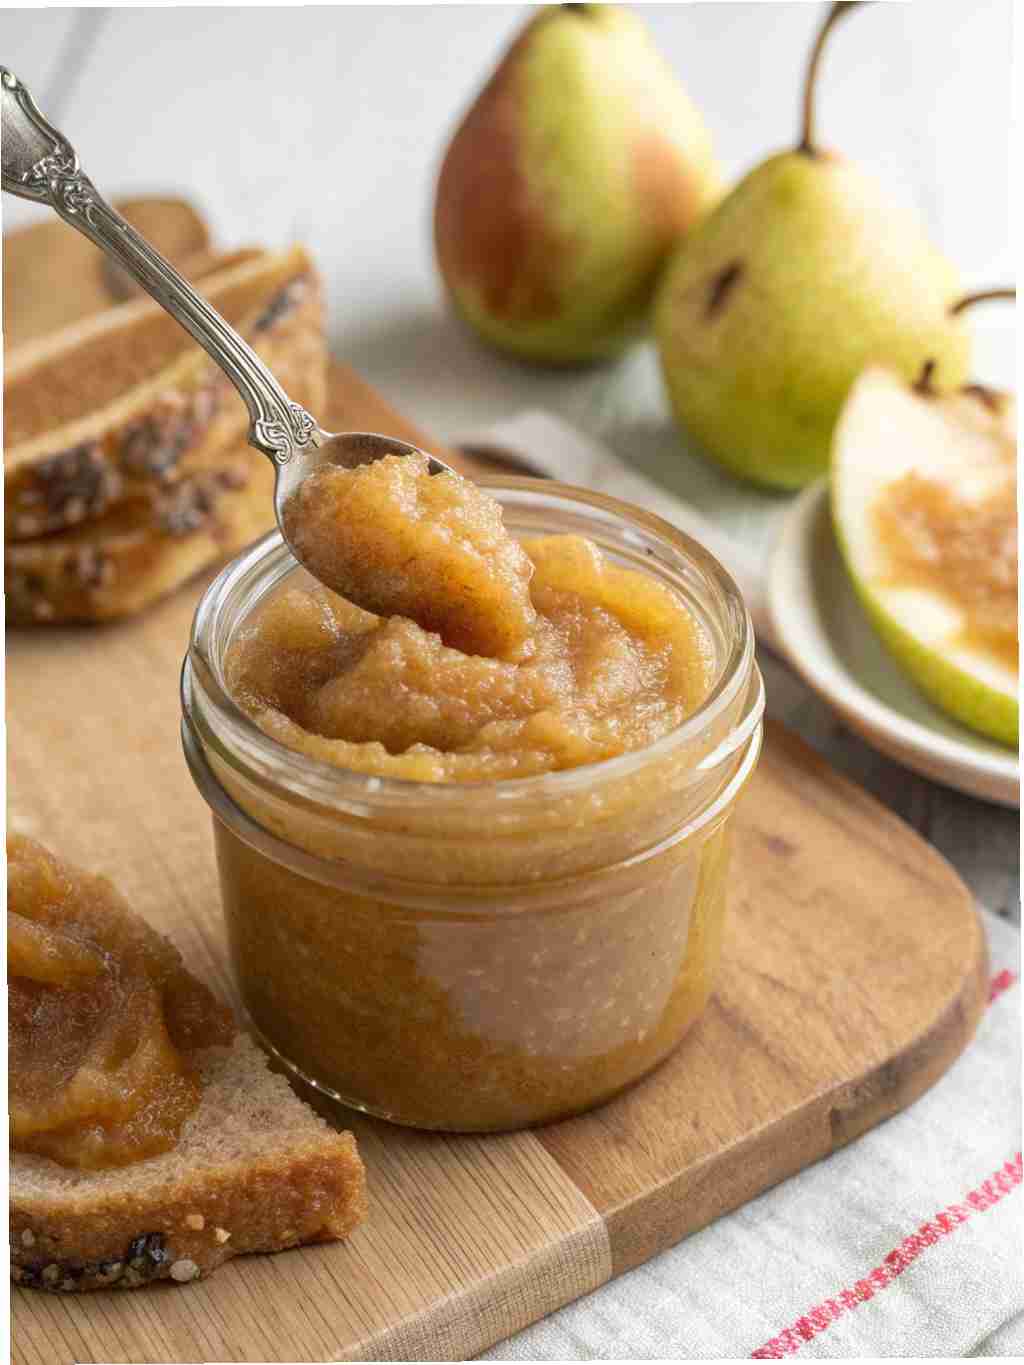
Are you looking for a delicious and naturally sweet spread that’s perfect for fall? This homemade pear butter recipe is exactly what you need! It’s easy to make, bursting with flavor, and uses simple ingredients. Get ready to enjoy the comforting taste of pears in a whole new way!
What is Pear Butter?
Pear butter. It sounds intriguing, doesn’t it? Is it butter made from pears? Or maybe it’s a magical potion conjured up by fairy bakers? Well, not quite! Pear butter is actually a luxuriously smooth fruit spread made from slowly cooked pears, spices, and a touch of sweetness.
It’s similar to apple butter, but with a unique pear-fect twist (see what I did there?). Some say it’s called butter because of its incredibly smooth and spreadable texture, rich like butter itself. While I can’t verify that exactly, I know the proof is in the pudding… or in this case, the Pear Butter. So, forget the old proverb, “the way to a man’s heart is through his stomach,” the way to everyone’s heart—especially on a chilly afternoon—is through a jar of homemade pear butter. Ready to spread some happiness? Give this recipe a try!
Why You’ll Love This Pear Butter:
This homemade pear butter is a total game-changer! Firstly, the flavor is simply divine; the natural sweetness of the pears is enhanced by warm spices like cinnamon and nutmeg, creating a comforting taste of autumn. Secondly, making it at home is incredibly cost-effective compared to buying expensive jars from the store – you’ll be amazed at how much you can save! Lastly, the versatility of this spread is unbeatable. Spread it on toast, swirl it into oatmeal, or use it as a topping for pancakes. If you enjoy apple butter, you’ll absolutely adore pear butter. It’s smoother, more delicate, and offers a delicious alternative. So what are you waiting for? Roll up your sleeves and get ready to create a jar of homemade goodness!
Key Ingredients for Pear Butter:
Here’s a visual of the ingredients you’ll need:
- 4 pounds Pears: Choose ripe but firm pears. Bartlett, Anjou, or Bosc varieties work well. Peel, core, and chop them into small pieces.
- 1/2 cup Granulated Sugar: Adjust the amount based on the sweetness of your pears and personal preference. Brown sugar can also be used for a richer flavor.
- 1/4 cup Lemon Juice: Freshly squeezed lemon juice not only adds a bright citrus flavor but also acts as a natural preservative.
- 2 Cinnamon Sticks: These infuse the pear butter with a warm, comforting aroma.
- 1/2 teaspoon Ground Nutmeg: A touch of nutmeg complements the pear flavor beautifully.
- 1/4 cup Water: This helps get the cooking process started and prevents the pears from sticking to the bottom of the pot.
How to Make Pear Butter:
Making pear butter is surprisingly easy! This recipe yields a creamy, naturally sweet spread that’s perfect for gifting or enjoying yourself. It takes about 2-3 hours of cooking time, but the hands-on part is minimal.
The slow cooking process allows the pears to break down and caramelize, resulting in a rich and flavorful butter. You’ll need a large pot or Dutch oven for best results. You’ll love how simple, delicious, and satisfying this recipe is!
Step-by-Step Instructions:
Prepare the Pears: Wash, peel, core, and dice the pears into small, uniform pieces. The smaller the pieces, the faster they will cook down.
Combine Ingredients: In a large pot or Dutch oven, combine the chopped pears, sugar, lemon juice, cinnamon sticks, nutmeg, and water.
Bring to a Simmer: Place the pot over medium heat and bring the mixture to a gentle simmer. Stir occasionally to prevent the pears from sticking.
Simmer and Cook: Reduce the heat to low, cover the pot, and let the mixture simmer for 1.5 – 2 hours, or until the pears are very soft and easily mashed with a spoon. Stir occasionally to prevent sticking and burning.
Remove Cinnamon Sticks: Once the pears are soft, remove the cinnamon sticks from the pot.
Puree the Mixture: Use an immersion blender to puree the pear mixture until it is smooth. Alternatively, carefully transfer the mixture to a regular blender or food processor and blend until smooth. Be cautious when blending hot liquids and always vent the blender to prevent pressure build-up.
Cook Down the Butter: Return the pureed pear mixture to the pot. Cook over low heat, uncovered, for another 30-60 minutes, or until the pear butter has thickened to your desired consistency. Stir frequently to prevent sticking and burning. The butter will continue to thicken as it cools.
Check for Doneness: To test for doneness, place a small spoonful of pear butter on a chilled plate. Tilt the plate. If the pear butter is thick enough, it should not run easily and should hold its shape.
Process for Canning (Optional): If you want to preserve the pear butter for longer storage, you can process it in a hot water bath. Sterilize your canning jars and lids. Ladle the hot pear butter into the sterilized jars, leaving 1/4 inch headspace. Remove any air bubbles, wipe the jar rims, and seal with lids and rings. Process in a boiling water bath for 10 minutes (adjust processing time based on altitude).
Cool and Store: If not canning, allow the pear butter to cool completely before transferring it to airtight containers. Store in the refrigerator.
What to Serve Pear Butter With
Pear butter is incredibly versatile and pairs well with a variety of foods. Here are a few ideas to inspire you:

- Toast and Bread: The most classic way to enjoy pear butter is spread on a slice of warm toast, crusty bread, or a freshly baked muffin.
- Oatmeal and Yogurt: Swirl a spoonful of pear butter into your morning oatmeal or yogurt for a touch of sweetness and flavor.
- Cheese and Crackers: Pear butter pairs beautifully with creamy cheeses like brie or goat cheese. Serve it with crackers for an elegant appetizer.
- Pancakes and Waffles: Use pear butter as a topping for pancakes or waffles instead of syrup.
- Meat and Poultry: Surprisingly, pear butter can also complement savory dishes. Try using it as a glaze for roasted chicken or pork.
- Desserts: Use pear butter as a filling for tarts, pies, or pastries.
Top Tips for Perfecting Pear Butter:
Here are some valuable tips to help you make the best pear butter possible:
- Choose the Right Pears: Use ripe but firm pears for the best flavor and texture. Overripe pears will be too mushy, while underripe pears will lack sweetness.
- Adjust the Sweetness: Taste the pear butter during the cooking process and adjust the amount of sugar as needed. Different varieties of pears will have varying levels of sweetness.
- Don’t Skip the Lemon Juice: Lemon juice not only adds flavor but also helps to brighten the color of the pear butter and acts as a natural preservative.
- Stir Frequently: Stir the pear butter frequently, especially during the final stages of cooking, to prevent it from sticking and burning.
- Use the Right Pot: A heavy-bottomed pot or Dutch oven will help to distribute the heat evenly and prevent scorching.
- Be Patient: Pear butter requires time to cook and thicken. Don’t rush the process. Allow the pears to break down fully and the moisture to evaporate slowly.
- Experiment with Spices: Feel free to experiment with different spices, such as ginger, cardamom, or star anise, to customize the flavor of your pear butter.
- Ingredient Substitutions: If you don’t have cinnamon sticks, you can use ground cinnamon instead (about 1 teaspoon). You can also use other types of fruit juice, like apple juice, if you don’t have lemon juice on hand.
Storing and Reheating Tips:
- Storing: If you canned your pear butter properly, it can be stored in a cool, dark place for up to a year. Once opened, store in the refrigerator. Uncanned pear butter should be stored in an airtight container in the refrigerator for up to 2-3 weeks.
- Freezing: Pear butter can be frozen for longer storage. Transfer it to freezer-safe containers, leaving some headspace for expansion. It can be frozen for up to 3 months. Thaw in the refrigerator overnight before using.
- Reheating: Pear butter doesn’t usually need to be reheated. However, if you want to warm it up slightly, you can microwave it for a few seconds or heat it gently in a saucepan.
Final Thoughts:
This homemade pear butter recipe is a delightful way to enjoy the flavors of fall all year round. It’s easy to make, incredibly versatile, and makes a thoughtful homemade gift. So, gather your pears, get in the kitchen, and prepare to create a jar of deliciousness! Enjoy!
FAQs:
Q: Can I use a sugar substitute in this recipe?
A: Yes, you can use a sugar substitute like stevia or monk fruit sweetener. However, keep in mind that it may alter the texture and flavor of the pear butter. Start with a smaller amount and adjust to taste.
Q: Can I leave the peels on the pears?
A: While you can, it’s generally recommended to peel the pears for a smoother final product. The peels can also make the butter slightly bitter.
Q: My pear butter is too thin. How can I thicken it?
A: Continue cooking the pear butter over low heat, uncovered, until it reaches your desired consistency. Stir frequently to prevent sticking. You can also add a tablespoon of cornstarch mixed with a little water to help thicken it.
Q: My pear butter tastes burnt. What did I do wrong?
A: This likely happened because the pear butter stuck to the bottom of the pot and burned. Be sure to stir frequently, especially during the final stages of cooking, and use a heavy-bottomed pot to distribute the heat evenly.
Q: Can I make this recipe in a slow cooker?
A: Yes, you can! Combine all the ingredients in your slow cooker. Cook on low for 6-8 hours, or until the pears are very soft. Puree the mixture with an immersion blender and then cook on low, uncovered, for another 1-2 hours, or until it thickens to your desired consistency. Be aware that the cooking time might be significantly longer or shorter depending on your slow cooker. Take your time and check its consistancy on a regular basis.
Q: How can I sterilize jars for canning?
A: There are several ways to sterilize jars for canning. One method is to wash the jars in hot, soapy water, rinse well, and then place them in a boiling water bath for 10 minutes. Alternatively, you can wash the jars in the dishwasher on the sanitize cycle or bake them in the oven at 250°F (120°C) for 20 minutes. Boil the lids for 10 minutes to soften the sealing compound. Proceed with the canning process afterwards.
try also : Easy Pumpkin Dump Cake Recipe and find more in pinterest

