Ingredients
Equipment
Method
- In a large bowl, whisk together the 2 ½ cups of all-purpose flour, 1 cup of light brown sugar, 1 teaspoon of cinnamon, ½ teaspoon of nutmeg, and ¼ teaspoon of salt. Add the cold, cubed butter to the bowl. Use a pastry blender, a fork, or your fingertips to cut the butter into the dry ingredients until the mixture resembles coarse crumbs with some pea-sized pieces of butter remaining. This blend of flour and butter is crucial for both the tender crust and the delightfully crisp crumble topping.2.5 cups all-purpose flour, 1 cup packed light brown sugar, 1 teaspoon ground cinnamon, 0.5 teaspoon ground nutmeg, 0.25 teaspoon salt, 1 cup cold unsalted butter
- Preheat your oven to 375°F (190°C). Line a 9x13 inch baking pan with parchment paper, leaving an overhang on the sides for easy lifting later. Reserve about 1 ½ cups of the crumb mixture for the topping. Press the remaining mixture firmly and evenly into the bottom of the prepared baking pan to form the base crust. Ensure it’s well compacted for a sturdy foundation.
- In a separate large bowl, combine the thinly sliced apples, ½ cup of granulated sugar, ¼ cup of light brown sugar, 2 tablespoons of flour, 1 tablespoon of lemon juice, 1 teaspoon of cinnamon, ½ teaspoon of allspice, and ¼ teaspoon of salt. Toss gently to ensure all the apple slices are evenly coated with the sugar and spice mixture. The lemon juice not only adds a touch of brightness but also helps prevent the apples from browning.6 medium apples, 0.5 cup granulated sugar, 0.25 cup packed light brown sugar, 2 tablespoons all-purpose flour, 1 tablespoon lemon juice, 1 teaspoon ground cinnamon, 0.5 teaspoon ground allspice, 0.25 teaspoon salt
- Spread the prepared apple filling evenly over the pressed crust in the baking pan. Make sure to distribute the apples uniformly to ensure each bar gets a good portion of the delicious filling.
- Evenly sprinkle the reserved 1 ½ cups of crumb mixture over the top of the apple filling. Ensure you cover the apples completely with the crumble for that classic streusel topping effect.
- Bake in the preheated oven for 35-45 minutes, or until the crust is golden brown and the apple filling is bubbling and appears tender. You should be able to easily pierce an apple slice with a knife to check for doneness. If the topping starts to brown too quickly, you can loosely tent the pan with aluminum foil.
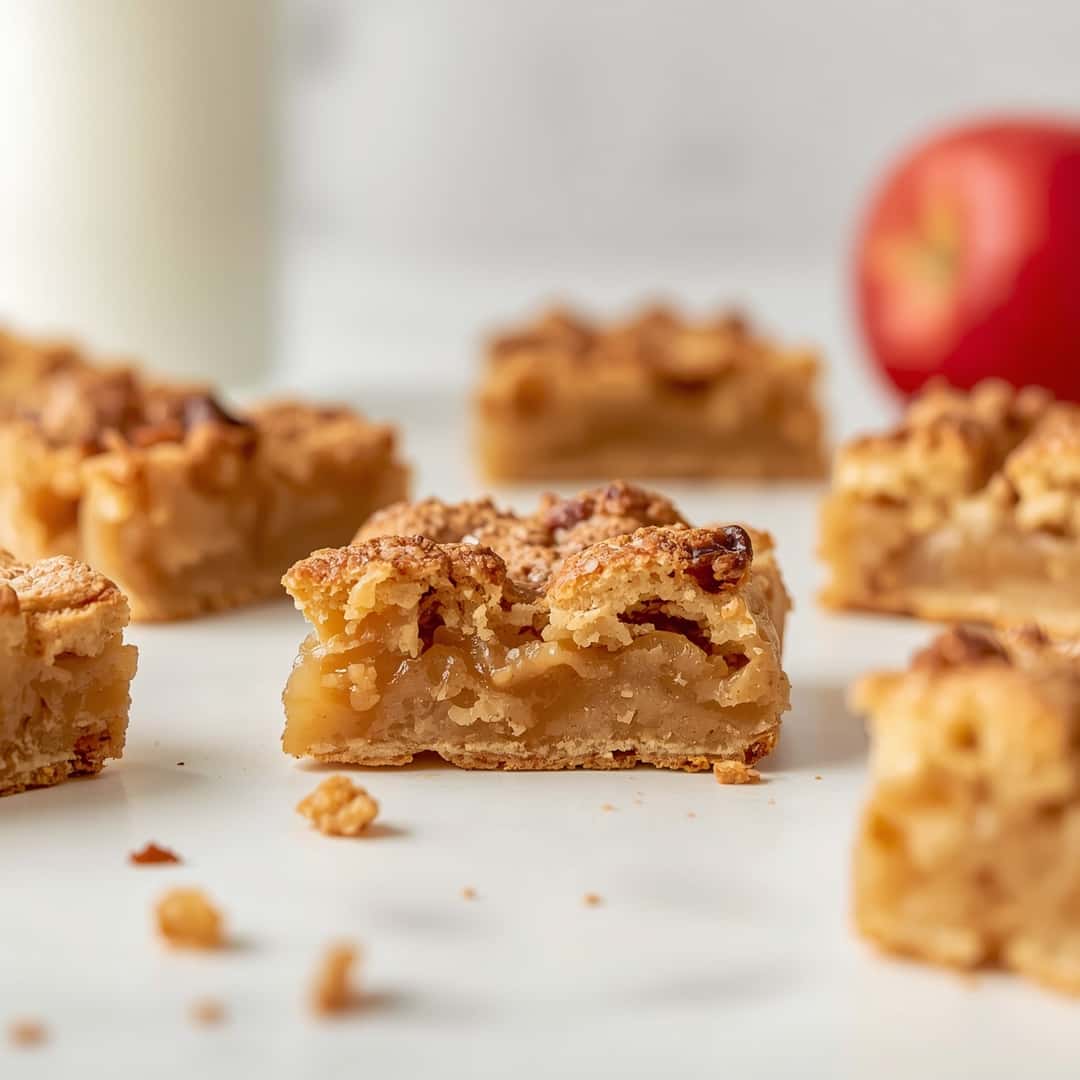
- Once baked, remove the pan from the oven and let the Apple Pie Bars Recipe cool completely on a wire rack. This is a crucial step to allow the filling to set properly, making it much easier to cut clean slices. Once fully cooled, use the parchment paper overhang to lift the entire slab out of the pan. Cut into desired bar sizes using a sharp knife.
Notes
Allow bars to cool completely before cutting for best results. Can be stored in the refrigerator for 3-4 days or frozen for up to 2-3 months.
