Ingredients
Equipment
Method
- Preheat your oven according to the box instructions for the red velvet cake mix. In a large mixing bowl, combine the red velvet cake mix, vegetable oil, eggs, and vanilla extract. If you desire a more vibrant red hue, add a few drops of red food coloring at this stage. Mix until just combined. Do not overmix.1 box red velvet cake mix, 1/4 cup vegetable oil, 3 large eggs, 1 teaspoon vanilla extract, red food coloring
- Pour the batter into a greased and floured 9x13 inch baking pan. Bake for the time recommended on the cake mix box, or until a toothpick inserted into the center comes out clean. Let the cake cool completely in the pan.
- Once the cake is thoroughly cooled, remove it from the pan and place it on a clean surface. Using your hands, crumble the cake into fine crumbs. Ensure there are no large chunks remaining. You can also use a food processor for a smoother texture, but be careful not to over-process into a paste.
- Add the entire can of cream cheese frosting (or your chosen frosting) to the cake crumbs. Begin by mixing with a spoon or spatula until most of the crumbs are coated. Then, use your hands to knead the mixture until it forms a cohesive, dough-like consistency. The mixture should be moist enough to hold its shape when rolled into balls, but not sticky. If it seems too dry, add a tablespoon of frosting at a time. If it's too wet, you can add a few more breadcrumbs or a touch more frosting if it's just a bit too firm. Add a drop of red food coloring if you want to enhance the red color of the cake mixture.1 can cream cheese frosting, red food coloring
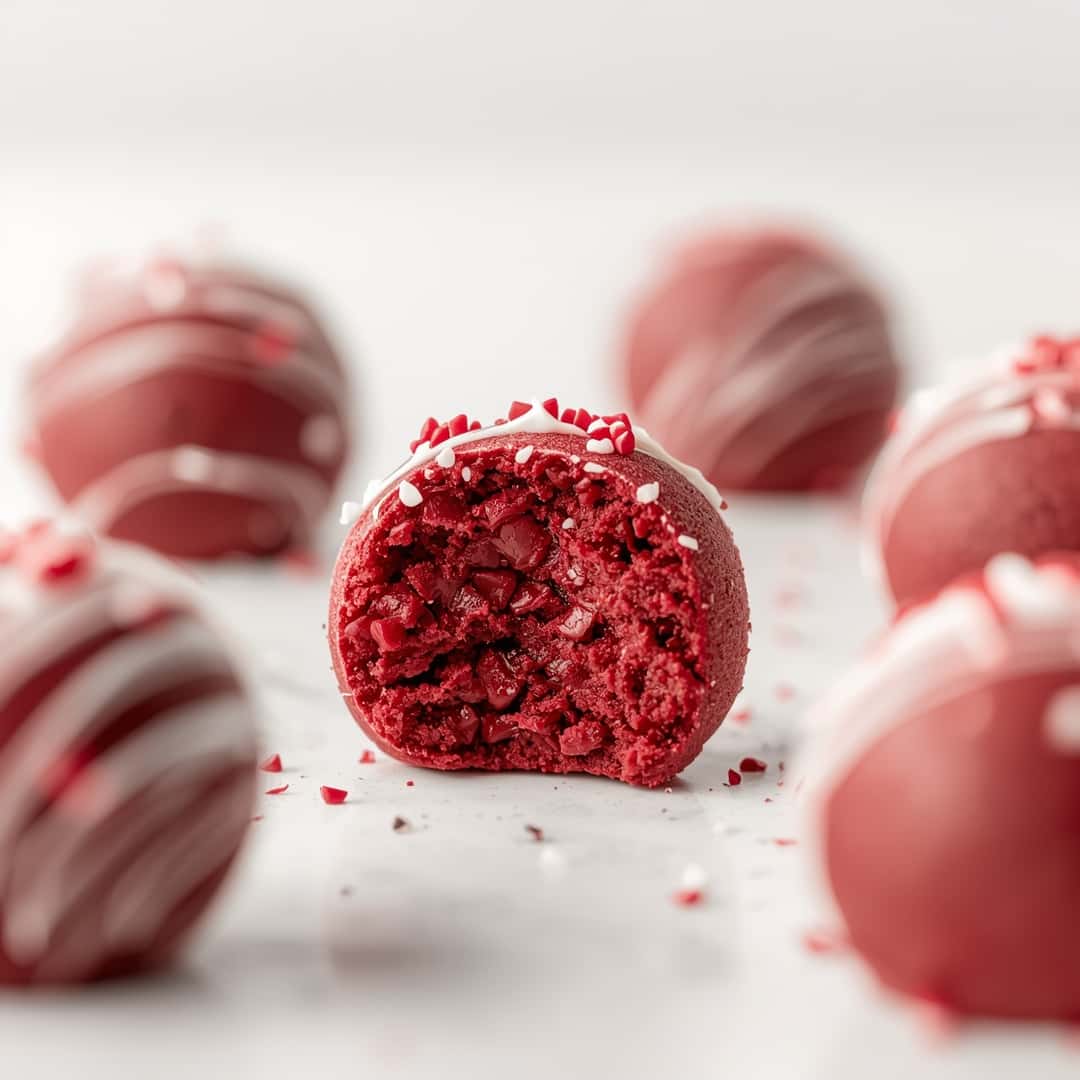
- Roll the cake mixture into small, uniform balls, about 1 inch in diameter. Place the rolled cake balls on a baking sheet lined with parchment paper or wax paper. Ensure they are not touching each other.
- Place the baking sheet with the cake balls into the refrigerator for at least 30 minutes. This chilling step is crucial as it will firm up the cake balls, making them easier to dip in chocolate. You can also freeze them for about 15 minutes if you're short on time.
- While the cake balls are chilling, prepare your white chocolate for dipping. In a microwave-safe bowl, combine the white chocolate chips and the vegetable shortening or coconut oil. Microwave in 30-second intervals, stirring well after each interval, until the chocolate is completely melted and smooth. Alternatively, you can use a double boiler. Be careful not to overheat the white chocolate, as it can seize. If you want a richer white chocolate flavor, you can use a higher quality white chocolate.1 bag white chocolate chips, 1 tablespoon vegetable shortening or coconut oil
- Remove the chilled cake balls from the refrigerator. Using a fork or a toothpick, dip each cake ball into the melted white chocolate, ensuring it is fully coated. Gently tap the excess chocolate off the cake ball and place it back onto the parchment-lined baking sheet.
- While the white chocolate coating is still wet, you can immediately add sprinkles, edible glitter, or other decorations. For more intricate designs, you can melt a small amount of dark chocolate or use black food coloring mixed with a little melted white chocolate to drizzle over the white chocolate coating once it has set. You can also use black food coloring to create small dots or swirls for a festive touch.black food coloring, sprinkles, edible glitter, or other cake ball decorations
- Allow the white chocolate coating to set completely. You can leave them at room temperature if your environment is cool, or place them back in the refrigerator for about 10-15 minutes to speed up the process.
Notes
Store in an airtight container in the refrigerator for up to 7-10 days.
For longer storage, freeze for up to 2-3 months.
