Ingredients
Equipment
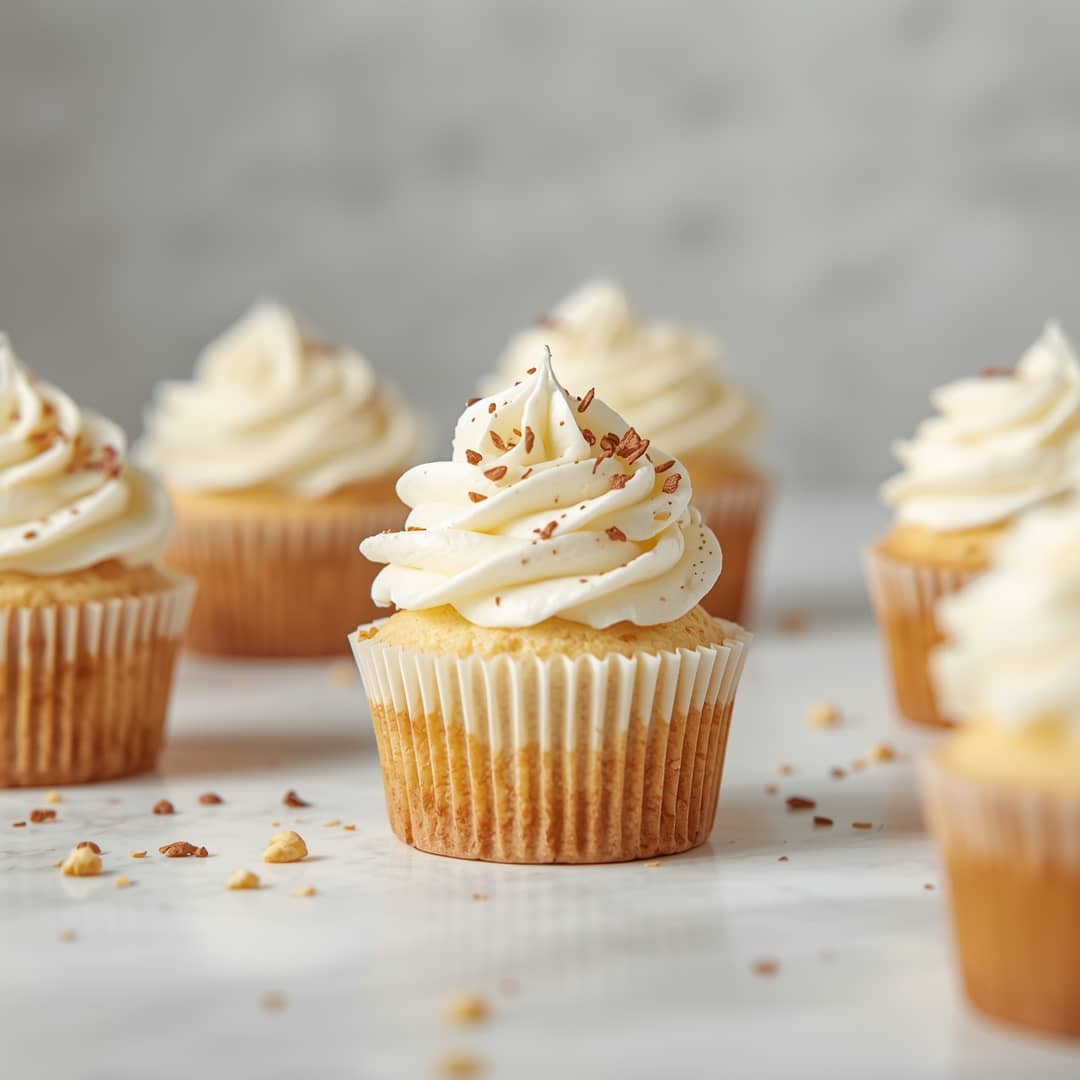
Method
- Preheat your oven to 325°F (160°C). Line a 12-cup muffin tin with paper cupcake liners. Ensure your cream cheese and eggs are at room temperature; this is crucial for a smooth, lump-free batter.
- In a large bowl, beat the softened cream cheese with an electric mixer on medium speed until completely smooth and creamy. Gradually add 1/2 cup (100g) of granulated sugar and continue beating until well combined and no sugar granules remain.8 ounces Cream Cheese, 1/2 cup Granulated Sugar
- Beat in the egg yolks, one at a time, ensuring each is fully incorporated before adding the next. Stir in the sour cream, lemon juice, and vanilla extract until the mixture is homogenous and wonderfully fragrant.4 separated Large Eggs, 1/4 cup Sour Cream, 1 tablespoon Lemon Juice, 1 teaspoon Vanilla Extract
- Sift the all-purpose flour, cornstarch, and salt directly into the cream cheese mixture. Mix on low speed or whisk by hand just until combined and no dry streaks are visible. Be careful not to overmix at this stage.2 tablespoons All-Purpose Flour, 1 tablespoon Cornstarch, 1/4 teaspoon Salt
- In a separate, clean, and dry bowl, beat the egg whites with an electric mixer on medium speed until foamy. If using, add the cream of tartar. Gradually add the remaining 2 tablespoons (25g) of granulated sugar, increasing the speed to high, and continue beating until stiff, glossy peaks form. The meringue should hold its shape when the beaters are lifted.4 separated Large Eggs, 1/4 teaspoon Cream of Tartar, 2 tablespoons Granulated Sugar
- Gently fold about one-third of the whipped egg whites into the cream cheese mixture to lighten it. Then, carefully fold in the remaining egg whites in two more additions. Use a spatula and a gentle folding motion, cutting down through the center and bringing the batter up from the bottom, until just combined. You want to keep as much air as possible; some small white streaks are okay.
- Divide the batter evenly among the 12 prepared cupcake liners, filling each about two-thirds to three-quarters full. The batter will be airy and voluminous.12 standard-sized Cupcake Liners
- Place the muffin tin in the preheated oven. Bake for 30-35 minutes, or until the cupcakes are set and a toothpick inserted into the center comes out clean or with a few moist crumbs attached. The tops should be a very pale golden color, as these are meant to be delicate.
- Once baked, remove the muffin tin from the oven and let the cupcakes cool in the tin for about 10-15 minutes. Then, carefully transfer them to a wire rack to cool completely. Resist the urge to poke them too much while warm!
Notes
Store in an airtight container in the refrigerator for up to 3-4 days. Freeze for longer storage (1-2 months).
