Ingredients
Equipment
Method
- In a medium bowl, combine the softened cream cheese, shredded sharp cheddar cheese, finely chopped bell pepper, finely chopped green onions, minced garlic, smoked paprika, and onion powder.16 ounces cream cheese, softened to room temperature, 1/2 cup shredded sharp cheddar cheese, 1/4 cup finely chopped bell pepper (any color, red or green work well), 2 tablespoons finely chopped green onions (scallions), 1 clove garlic, minced, 1/4 teaspoon smoked paprika, 1/4 teaspoon onion powder
- Add a pinch of salt and a good grind of black pepper to the cheese mixture.to taste salt, to taste freshly ground black pepper
- Using a sturdy spoon or a hand mixer on low speed, cream together all the ingredients until they are well combined and smooth. Ensure there are no lumps of cream cheese.
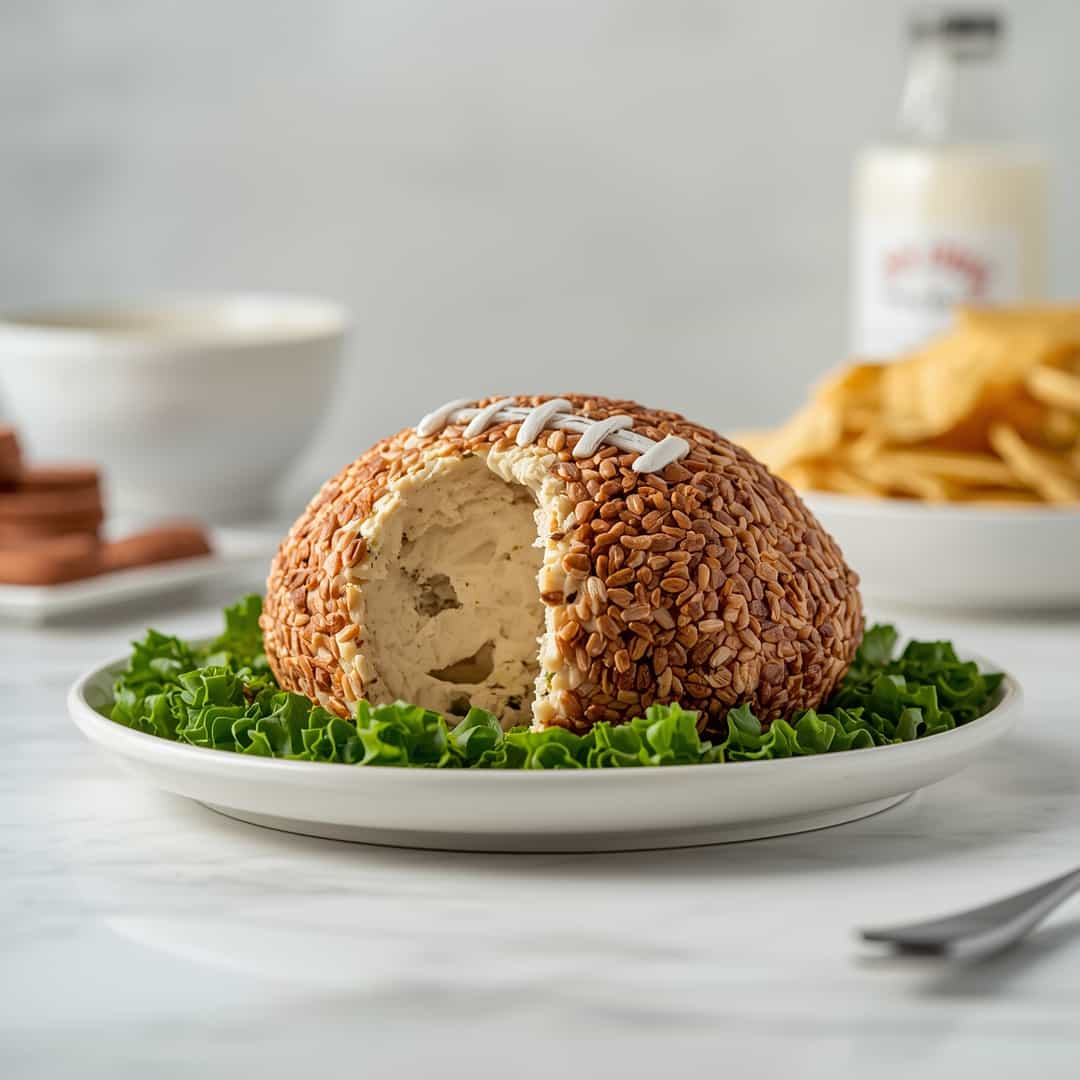
- Once the cheese mixture is thoroughly combined, turn it out onto a piece of plastic wrap. Use the plastic wrap to help you shape the mixture into a football form. Aim for a classic oval shape with slightly tapered ends.
- Wrap the football-shaped cheese ball tightly in the plastic wrap and refrigerate for at least 1 hour, or until firm enough to handle without losing its shape. This chilling step is crucial for easy coating.
- While the cheese ball is chilling, spread the finely chopped pecans or walnuts evenly onto a large plate or shallow dish.1 cup finely chopped pecans or walnuts (for coating)
- Once chilled and firm, carefully unwrap the cheese ball. Gently roll the football-shaped cheese ball in the chopped nuts, pressing lightly to ensure the nuts adhere evenly to all sides. If the cheese ball feels too soft to coat, chill it for another 15-30 minutes.
- If you're going for the full football look, prepare your decorations. Thinly slice red and green bell peppers. You can use a very small amount of softened cream cheese or mayonnaise as "glue" to attach the red pepper slices for the football laces and seam. Arrange them in a classic football pattern.Optional: Red and green bell pepper, thinly sliced (for decorating the football laces and seams), Optional: A very small amount of cream cheese or mayonnaise for attaching laces
- If you decorated the cheese ball, cover it loosely with plastic wrap and refrigerate for another 30 minutes to allow the decorations to set and the cheese ball to firm up further.
- When ready to serve, transfer the Football Cheese Ball Recipe to a serving platter. Accompany with your favorite crackers, pretzel crisps, breadsticks, or fresh vegetable sticks for dipping.
Notes
Wrap leftovers tightly in plastic wrap and store in an airtight container in the refrigerator for up to 3-4 days. Freeze before coating with nuts for best results (up to 1-2 months).
Allow to come to room temperature for about 30 minutes before serving.
