Ingredients
Equipment
Method
- The key to creamy coconut milk ice cream is using full-fat coconut milk that has been chilled overnight. This allows the thick cream to separate from the liquid. Carefully open the cans and scoop out only the solidified coconut cream from the top into a medium-sized mixing bowl. Discard the remaining coconut water or save it for smoothies.2 cans full-fat coconut milk
- Add the granulated sugar (or your chosen sweetener), vanilla extract, and a pinch of salt to the bowl with the coconut cream.1/2 cup granulated sugar, 1 teaspoon vanilla extract, 1 pinch salt
- Using an electric mixer (or a whisk and some serious arm power!), whip the coconut cream, sugar, and vanilla until the mixture is smooth and the sugar is fully dissolved. You’re aiming for a light and fluffy consistency. Avoid overmixing, as this can liquify the cream.
- If you're adding any mix-ins like chocolate chips, fruit purees, or cookie crumbles, gently fold them into the mixture now. Save some for topping later if desired.fresh fruit, chocolate chips, cookie crumbles, nut butter swirls
- Pour the mixture into your ice cream maker and churn according to the manufacturer's instructions. This typically takes 20-30 minutes, until the ice cream has a soft-serve consistency.
- If you don't have an ice cream maker, pour the mixture into a freezer-safe container. Freeze for 45 minutes, then remove and vigorously whisk to break up ice crystals. Repeat this process every 30-45 minutes for about 3-4 hours, until the ice cream is firm but scoopable. This method will result in a slightly icier texture than machine churning, but it's still delicious!
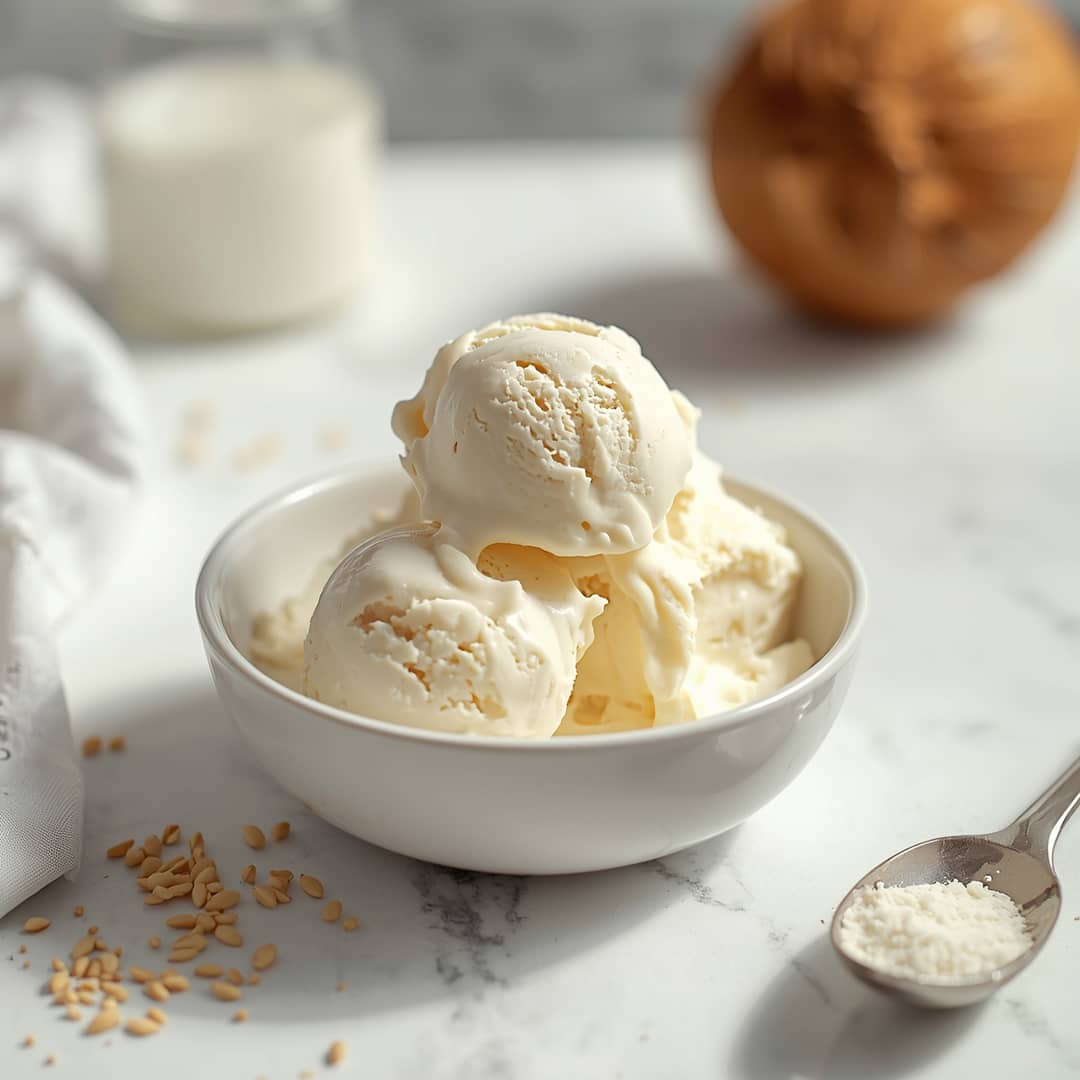
- Once churned to your desired consistency, transfer the ice cream to a freezer-safe container. Press a piece of parchment paper or plastic wrap directly onto the surface of the ice cream to prevent ice crystals from forming. Cover the container tightly and freeze for at least 4-6 hours, or until firm enough to scoop.
Notes
To store, always use an airtight container and press parchment paper directly onto the ice cream surface. Consume within 1-2 weeks.
