Ingredients
Equipment
Method
- Gather all your ingredients and have a freezer-safe container ready. A loaf pan or a similar-sized airtight container works perfectly for freezing your homemade pumpkin ice cream. Ensure your heavy whipping cream is well-chilled, as this is crucial for achieving the right consistency.
- In a large mixing bowl, pour the chilled heavy whipping cream. Using an electric mixer (handheld or stand mixer with a whisk attachment), whip the cream on medium-high speed until stiff peaks form. This means when you lift the beaters, the cream will stand up straight and hold its shape without curling over. Be careful not to over-whip, or you'll end up with butter!2 cups heavy whipping cream, chilled
- In a separate medium bowl, combine the pumpkin puree, sweetened condensed milk, pumpkin pie spice, vanilla extract, and a pinch of salt. Stir these ingredients together until thoroughly combined and smooth. The mixture should have a uniform orange color and a lovely aroma of pumpkin and spices.1 (15-ounce) can pumpkin puree (not pumpkin pie filling), 1 (14-ounce) can sweetened condensed milk, 2 teaspoons pumpkin pie spice, 1 teaspoon vanilla extract, Pinch of salt
- Gently add about one-third of the whipped cream to the pumpkin mixture. Using a spatula, carefully fold the whipped cream into the pumpkin mixture. The goal is to combine them without deflating the air you've whipped into the cream. Continue to fold in the remaining whipped cream in two more additions, until no streaks of either mixture are visible. The batter should be light and airy.
- Pour the combined mixture into your prepared freezer-safe container. Smooth the top with your spatula. Cover the container tightly with a lid or plastic wrap, ensuring no air can get in to prevent ice crystals from forming. Place the container in the freezer and allow it to freeze for at least 6 hours, or ideally overnight, until firm.
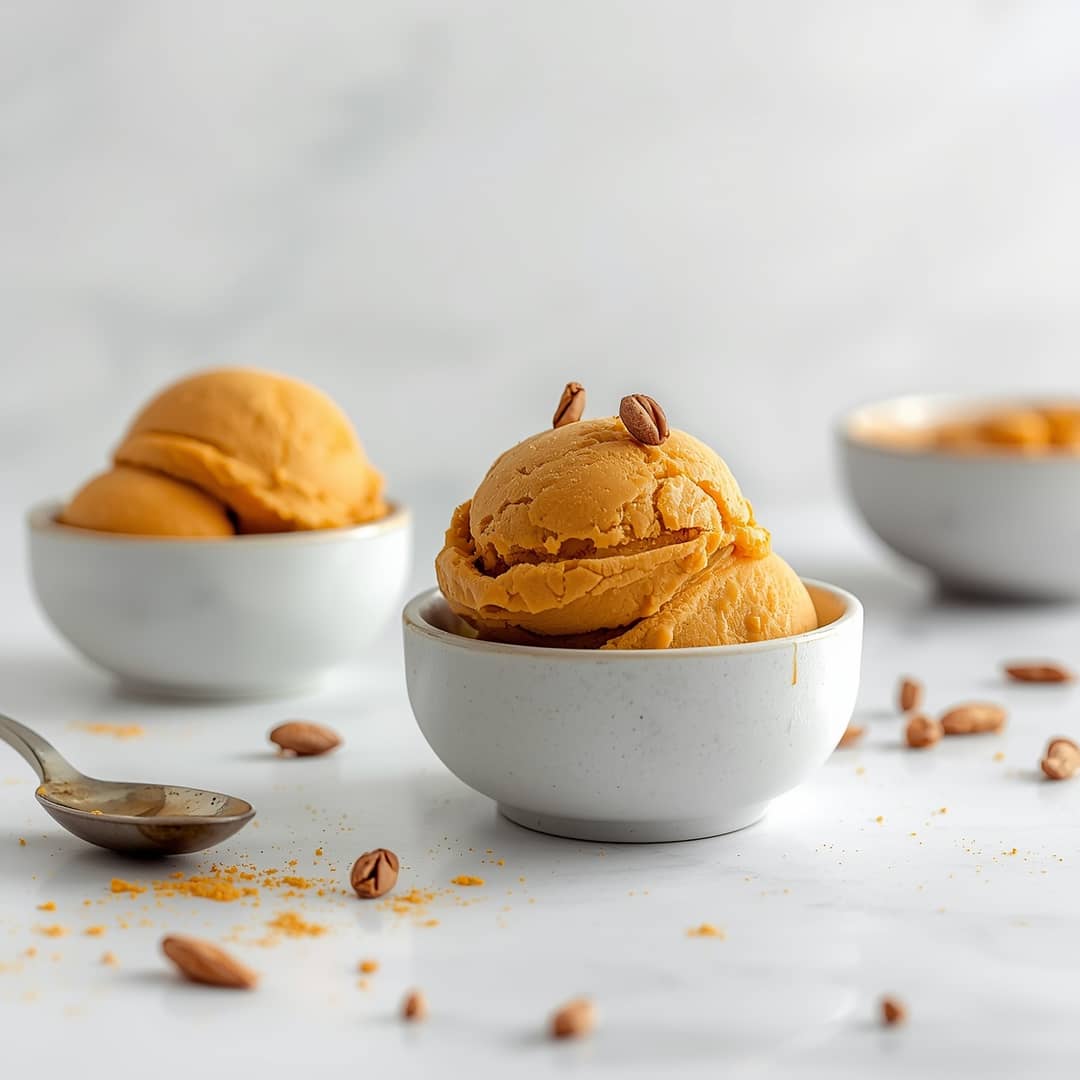
- Once your homemade pumpkin ice cream is firm, scoop it into bowls. For an extra special treat, consider adding toppings like whipped cream, a drizzle of caramel sauce, chopped toasted pecans, or a sprinkle of cinnamon.
Notes
Properly storing your homemade pumpkin ice cream is key to maintaining its creamy texture and fresh flavor. Once it's fully frozen, keep it tightly covered in your freezer. Use an airtight container, pressing plastic wrap directly onto the surface of the ice cream before sealing the lid to prevent freezer burn and the formation of ice crystals. It can be stored in the freezer for up to 2-3 weeks for optimal quality, though it remains safe to eat beyond that if kept consistently frozen. When you're ready to enjoy your homemade pumpkin ice cream again, allow it to sit at room temperature for 5-10 minutes before scooping. This brief thawing period will soften it slightly, making it easier to serve and enhancing its creamy mouthfeel.
