Ingredients
Equipment
Method
- Start with your freshest, plumpest strawberries. Gently wash them under cool running water and then pat them completely dry with paper towels. It's crucial that the strawberries are bone dry; any moisture will prevent the chocolate from adhering properly. Hull them by removing the leafy green tops.1 pound fresh strawberries
- Place the white chocolate chips or chopped white chocolate in a microwave-safe bowl. Add the coconut oil or shortening if you're using it, which helps create a smoother, more fluid consistency. Microwave in 30-second intervals, stirring well after each burst. Continue microwaving and stirring until the chocolate is completely smooth and melted. Alternatively, you can melt the chocolate using a double boiler method over simmering water, ensuring no steam or water gets into the chocolate.12 ounces good quality white chocolate chips or chopped white chocolate, 1 tablespoon coconut oil or vegetable shortening
- Once the white chocolate is melted and smooth, divide it evenly into separate small bowls, one for each color of food coloring you plan to use. You'll want at least four to six colors for a vibrant rainbow effect.Assorted gel food coloring
- Add a tiny drop or two of gel food coloring to each bowl of melted white chocolate. Gel food coloring is highly concentrated, so start with a small amount. Stir each color thoroughly until it's evenly distributed and vibrant. If you want a lighter shade, use less coloring; for a deeper hue, add a little more, but be careful not to add too much liquid. The goal is to achieve distinct, bright colors.Assorted gel food coloring
- This is where the magic happens! Take a large spatula or spoon and begin artfully swirling different colored chocolates into a larger bowl or directly onto your prepared baking sheet. You don't need to mix them completely; the goal is to create streaks and swirls of color. Think about layering: put a dollop of one color next to a dollop of another, then gently swirl with a toothpick or the tip of your spatula to create marbled patterns. Don't over-swirl, or the colors will blend into one muddy hue.
- Holding a strawberry by its stem or leafy end, dip it into the marbled chocolate mixture. Rotate the strawberry to coat about two-thirds or three-quarters of it, allowing the beautiful marbled patterns to adhere. Gently lift the strawberry and let any excess chocolate drip back into the bowl.1 pound fresh strawberries
- Carefully place the dipped strawberry onto a baking sheet lined with parchment paper or a silicone baking mat. The parchment paper is essential to prevent the chocolate from sticking and to make cleanup a breeze.1 pound fresh strawberries
- While the chocolate is still wet, you can add your decorative touches. Sprinkle with edible glitter, chopped nuts, or your favorite sprinkles. You can also melt a small amount of dark or milk chocolate and drizzle it over the marbled chocolate for added texture and visual appeal.N/A Sprinkles, edible glitter, or chopped nuts, N/A Additional chocolate for drizzling or dots
- Once all the strawberries are dipped and decorated, place the baking sheet in the refrigerator. Allow the chocolate to harden completely. This will take at least 30-45 minutes. For the best set, chill them until the chocolate is firm to the touch.1 pound fresh strawberries
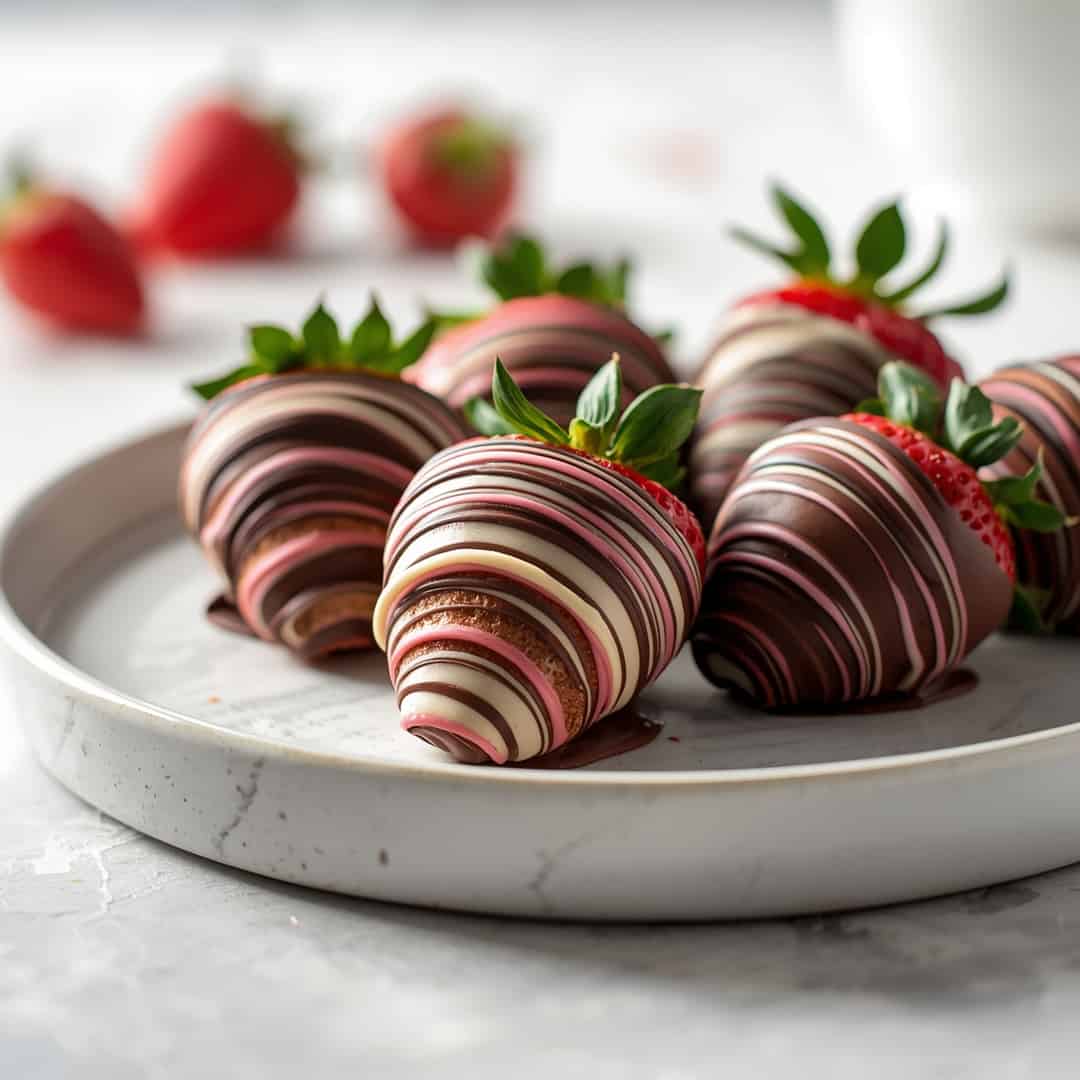
- Once set, your Marbled Rainbow Chocolate Strawberries are ready to be devoured! Arrange them on a platter for a stunning presentation.
Notes
To keep your Marbled Rainbow Chocolate Strawberries fresh and delicious, store them in a single layer in an airtight container in the refrigerator. Avoid stacking them, as the chocolate can smudge or break. They will stay fresh for approximately 2-3 days. It is not recommended to freeze them. For optimal taste, allow chilled strawberries to sit at room temperature for about 10-15 minutes before serving.
