Ingredients
Equipment
Method
- Preheat your oven to 325°F (160°C). Line a 12-cup muffin tin with silicone cupcake liners or parchment paper liners, ensuring the liners extend slightly above the rim of the tin to make removal easier.
- In a medium bowl, combine the gluten-free graham cracker crumbs, melted vegan butter, and sugar (if using). Stir until the crumbs are evenly moistened and resemble wet sand.1 1/2 cups gluten-free graham cracker crumbs, 6 tablespoons melted vegan butter, 2 tablespoons granulated sugar
- Divide the crumb mixture evenly among the 12 prepared muffin cups. Press the crumbs firmly into the bottom of each liner to create a compact crust. You can use the bottom of a small glass or your fingers to help compact them.
- For a sturdier crust, bake the muffin tin with the crusts for 5-7 minutes, or until lightly golden. Remove from the oven and let cool slightly while you prepare the filling.
- In a large bowl, beat the softened vegan cream cheese with an electric mixer on medium speed until smooth and creamy. Gradually add the granulated sugar (or maple syrup) and continue beating until well combined and no lumps remain.2 (8-ounce) packages vegan cream cheese, softened, 1/2 cup granulated sugar
- Stir in the thick coconut milk from the top of the can, fresh lemon juice, vanilla extract, and a pinch of salt. Mix on low speed until just incorporated. Be careful not to overmix, as this can incorporate too much air.1/4 cup full-fat canned coconut milk, 1 tablespoon fresh lemon juice, 1 teaspoon pure vanilla extract, 1 pinch salt
- Spoon the cream cheese filling evenly over the prepared crusts in the muffin tin. Fill each liner to the top, smoothing the surface with the back of a spoon or a small offset spatula if desired.
- Carefully place the muffin tin in the preheated oven. Bake for 20-25 minutes, or until the edges are set and the centers are just slightly jiggly. The cheesecakes will continue to set as they cool.
- Remove the muffin tin from the oven and let the cheesecakes cool completely in the tin on a wire rack. Once cooled, cover the tin loosely with plastic wrap and transfer it to the refrigerator for at least 4 hours, or preferably overnight, to allow them to set fully and develop their flavor.
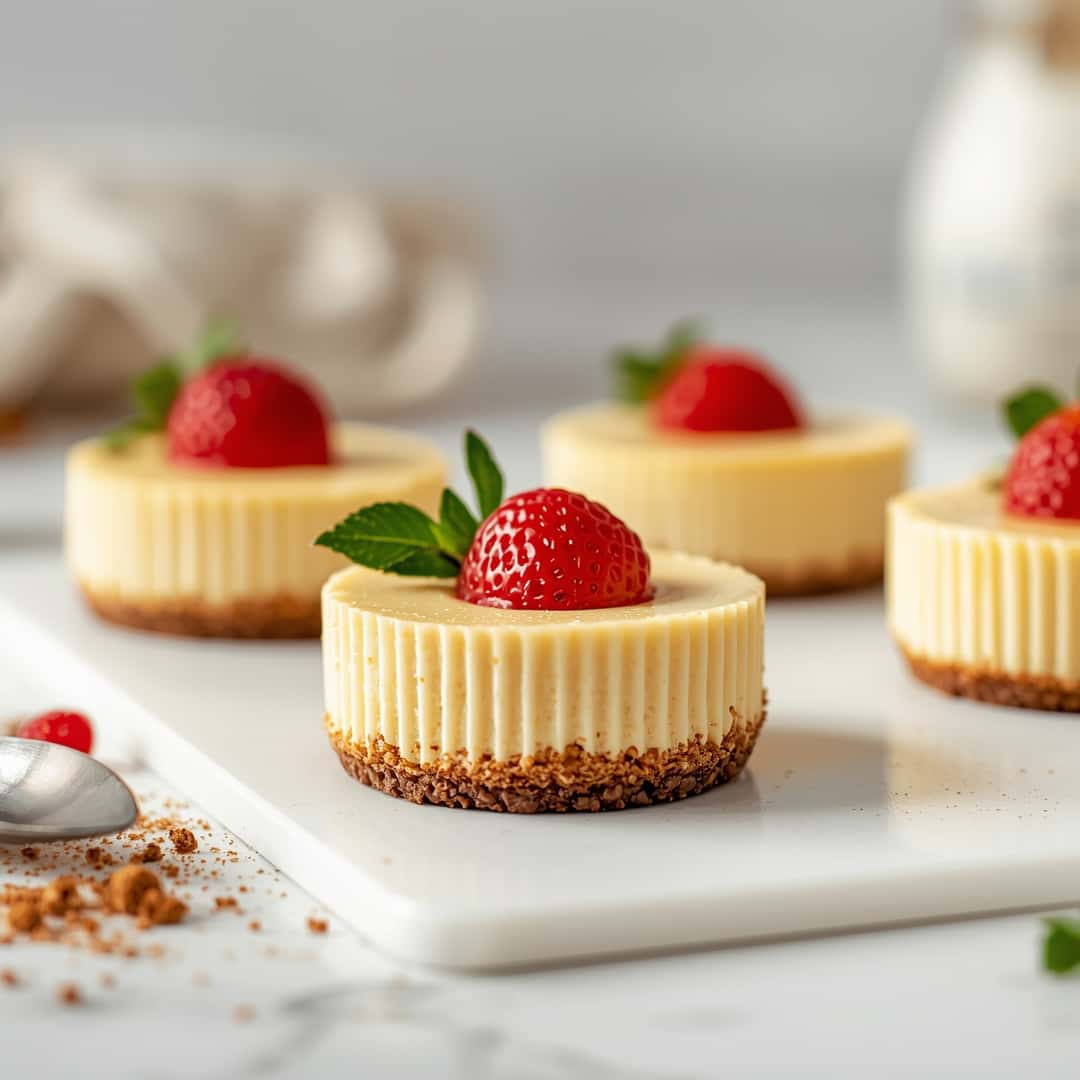
- Once chilled and set, carefully remove the Mini Vegan Gluten-Free Cheesecakes from the muffin tin using the edges of the liners. Garnish with your favorite toppings, such as fresh berries, a drizzle of vegan caramel sauce, or a dusting of powdered sugar.fresh berries, vegan caramel sauce, vegan chocolate ganache, toasted shredded coconut
Notes
Store individual cheesecakes in an airtight container in the refrigerator for up to 3-4 days. For longer storage, freeze them for up to 1-2 months. Warming is generally not recommended as it can affect the texture.
