Ingredients
Equipment
Method
- In a medium-sized mixing bowl, add the rolled oats, cocoa powder, protein powder, chia seeds (if using), and a pinch of salt. Whisk these dry ingredients together thoroughly to ensure they are evenly distributed.1 cup rolled oats, 1/4 cup cocoa powder, 1/4 cup protein powder, 2 tablespoons chia seeds, Pinch salt
- Add the creamy peanut butter, honey or maple syrup, and vanilla extract to the bowl with the dry ingredients.1/2 cup creamy peanut butter, 1/3 cup honey or maple syrup, 1 teaspoon vanilla extract
- Using a sturdy spoon or spatula, begin to mix the wet and dry ingredients together. Continue stirring until a thick, cohesive dough-like mixture forms. It might seem a bit crumbly at first, but keep mixing.
- If the mixture is too dry and doesn't hold together easily when you squeeze it, add milk one tablespoon at a time, mixing after each addition, until the dough is moist enough to roll into balls without falling apart. Be careful not to add too much liquid, as this can make the balls too sticky.1-2 tablespoons milk
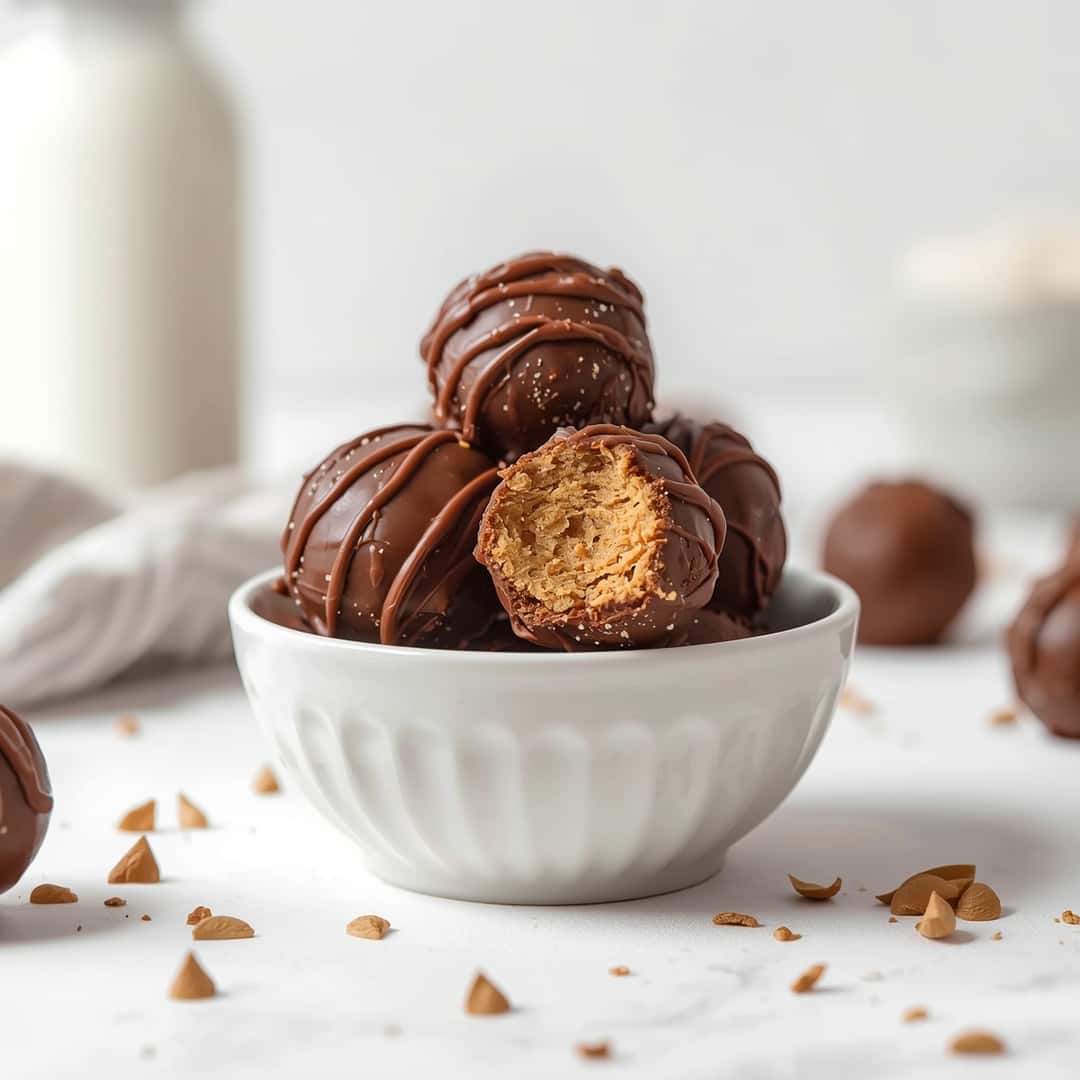
- Once your mixture has reached the desired consistency, it’s time to roll! Take about a tablespoon of the mixture at a time and roll it between your palms to form compact balls, about 1 inch in diameter.
- Place the rolled protein balls on a plate or baking sheet lined with parchment paper. Transfer the plate or sheet to the refrigerator and chill for at least 30 minutes.
Notes
Store in an airtight container in the refrigerator for up to 1-2 weeks. Can also be frozen for up to 3 months.
