Ingredients
Equipment
Method
- Before you begin, place your mixing bowl and whisk attachment (if using a stand mixer) or hand mixer beaters in the freezer for about 15-20 minutes. This ensures your cream whips up beautifully. You can also chill your sweetened condensed milk.
- Pour the very cold heavy whipping cream into the chilled mixing bowl. Whip the cream until stiff peaks form. This means when you lift the whisk, the cream holds its shape and the peaks stand straight up without flopping over. Be careful not to over-whip, or you'll end up with butter!2 cups Heavy Whipping Cream
- Once you have stiff peaks, gently fold in the chilled sweetened condensed milk and vanilla extract (and any other extracts or flavorings you are using). Use a spatula and a gentle motion, scooping from the bottom of the bowl and lifting it over the top, turning the mixture gently. Continue until the condensed milk is just incorporated and there are no streaks. The mixture will become thick and voluminous. Don't overmix, as this can deflate the whipped cream.1 can Sweetened Condensed Milk, 1 teaspoon Vanilla Extract
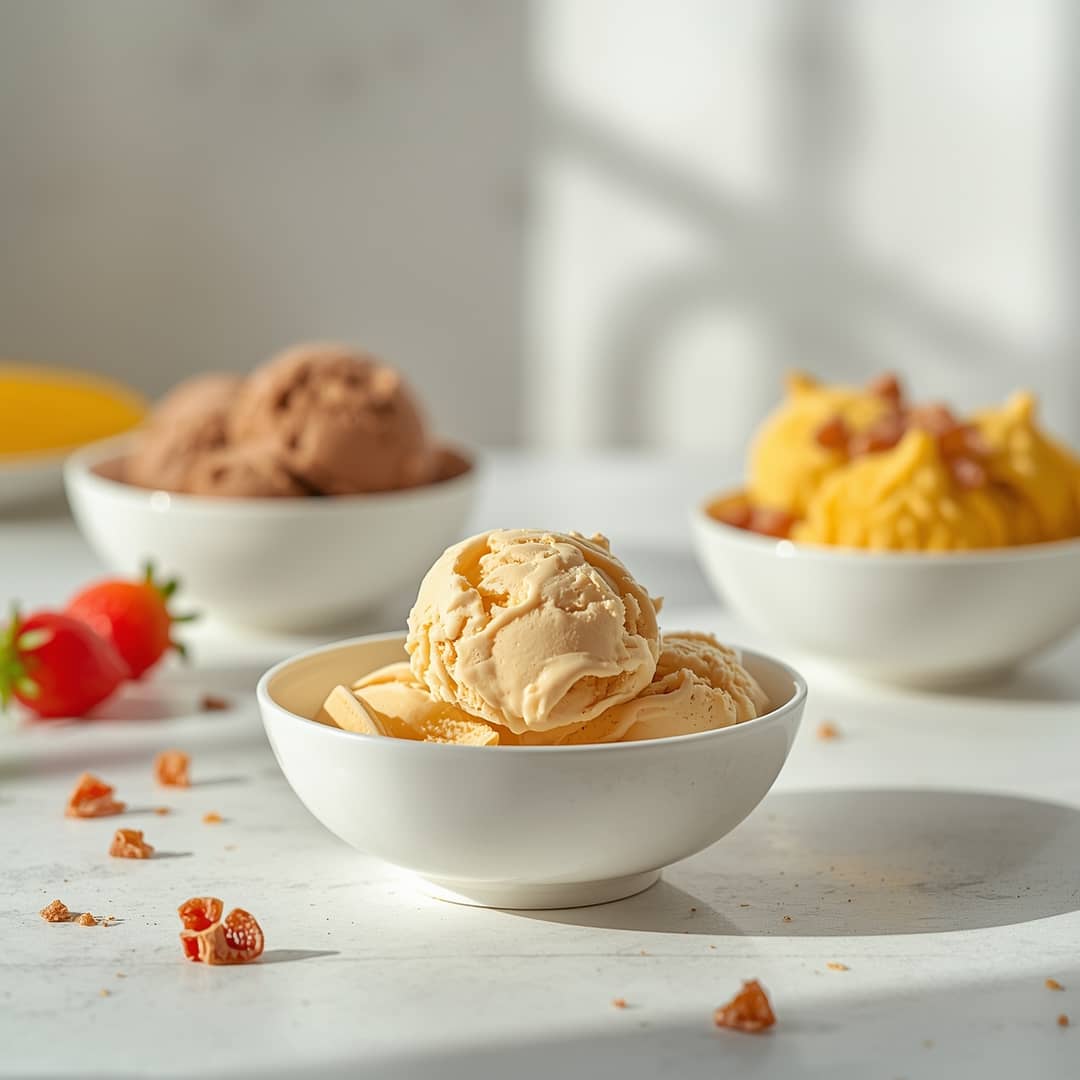
- If you're adding things like cocoa powder, fruit puree, or chocolate chips, gently fold them in at this stage. For swirls like caramel or fudge, dollop them in and gently swirl with a knife or skewer.
- Pour the mixture into a freezer-safe container. A loaf pan is ideal, but any airtight container will work.
- Cover the container tightly with plastic wrap, pressing it directly onto the surface of the ice cream to prevent ice crystals from forming, then seal with a lid or aluminum foil. Freeze for at least 6-8 hours, or until firm. The longer it freezes, the firmer it will become.
Notes
To keep your No Churn Ice Cream fresh and creamy, ensure it's stored in an airtight, freezer-safe container. Pressing a layer of plastic wrap directly onto the surface of the ice cream before sealing the container is crucial to prevent ice crystal formation. Properly stored, homemade No Churn Ice Cream will remain at its best for up to 2 weeks. If the ice cream becomes too hard to scoop after extended freezing, let it sit at room temperature for 5-10 minutes until it reaches a scoopable consistency.
