Ingredients
Equipment
Method
- In a large mixing bowl, whisk together the all-purpose flour, whole wheat flour, protein powder, granulated sugar, baking powder, baking soda, and salt. Ensure everything is thoroughly combined to avoid pockets of unincorporated flour or leavening agents.1.5 cups all-purpose flour, 0.5 cup whole wheat flour, 1 scoop vanilla or unflavored whey protein powder, 2 tablespoons granulated sugar, 2 teaspoons baking powder, 0.5 teaspoon baking soda, 0.25 teaspoon salt
- In a separate medium bowl, whisk together the buttermilk, eggs, melted butter, and vanilla extract until well combined and smooth.1.75 cups buttermilk, 2 large eggs, 0.25 cup melted unsalted butter, 1 teaspoon vanilla extract
- Pour the wet ingredients into the bowl with the dry ingredients. Whisk gently until just combined. A few lumps are perfectly fine; overmixing can lead to tough waffles.
- Cover the bowl tightly with plastic wrap or a lid and refrigerate overnight, or for at least 8 hours. This resting period allows the flour to hydrate fully and develops the signature flavor of the buttermilk, resulting in a tender, perfectly textured waffle.
- The next morning, preheat your waffle iron according to the manufacturer's instructions. Lightly grease the waffle iron with butter or cooking spray.0.25 cup melted unsalted butter
- Once the waffle iron is hot, ladle about ½ to ¾ cup of batter (depending on your waffle iron size) onto the center of the iron. Close the lid and cook until the waffles are golden brown and steam is no longer escaping, typically 5-8 minutes.
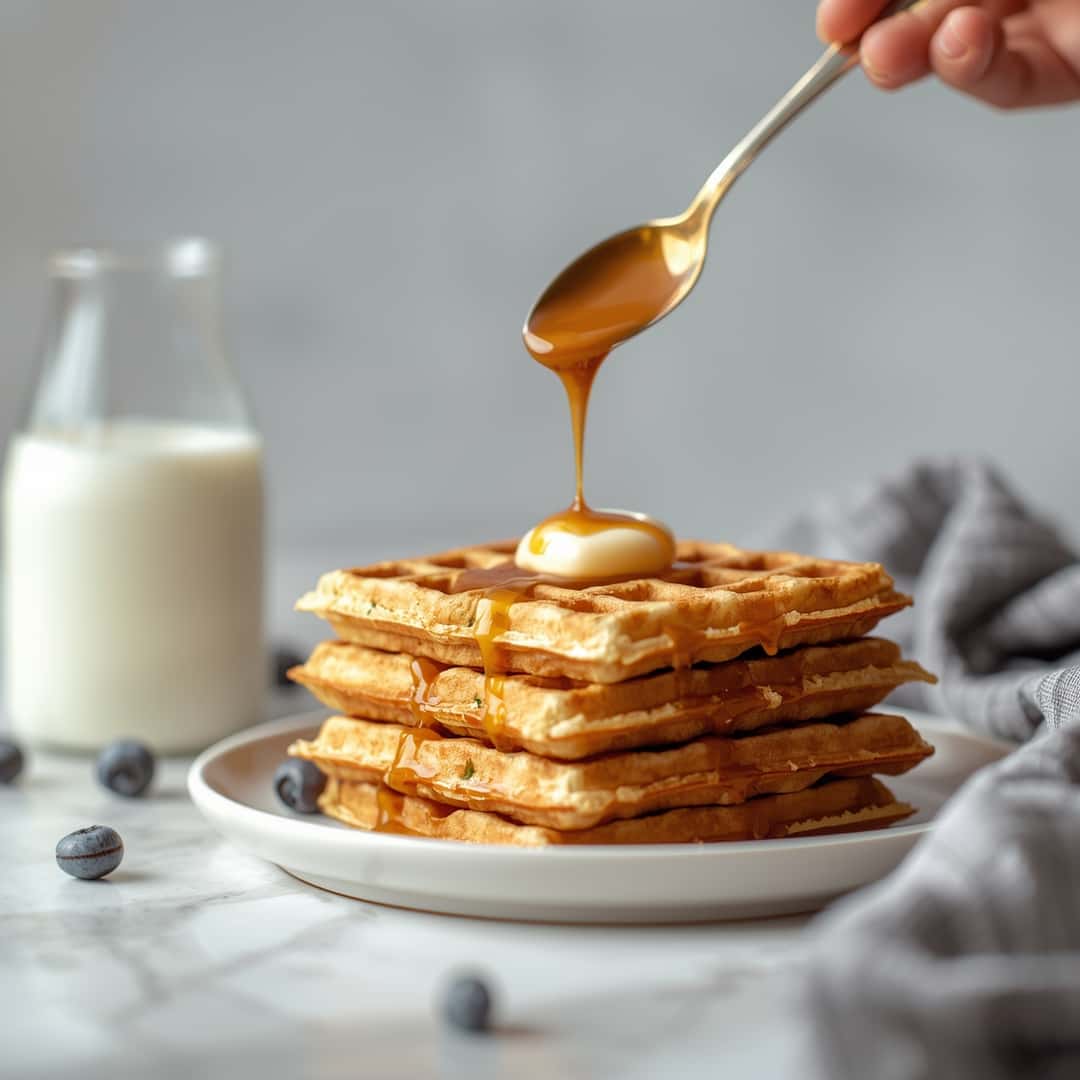
- Carefully remove the cooked waffles from the iron and serve hot. Repeat with the remaining batter.
Notes
To store leftover waffles, allow them to cool completely and place them in an airtight container in the refrigerator for up to 3 days. For longer storage, freeze them in a single layer on a baking sheet until solid, then transfer to a freezer-safe bag for up to 2 months. Reheat in a toaster, toaster oven, or conventional oven. Microwaving is an option for a quick reheat but may reduce crispiness.
