Ingredients
Equipment
Method
- Before you begin, place your ice cream maker's bowl in the freezer for at least 24 hours. Also, chill your mixing bowl and whisk attachment if using a stand mixer. This ensures your cream whips up quickly and efficiently.
- In a medium saucepan, combine the milk, 1/4 cup of the granulated sugar, and salt. Heat over medium heat, stirring occasionally, until the sugar is completely dissolved and the mixture is warm but not boiling. Remove from the heat.1/4 cup milk, 1/2 cup granulated sugar, 1/4 teaspoon salt
- Whisk in the strawberry or raspberry puree into the warm milk mixture until well combined. If you desire a more intense pink color, add a drop or two of pink food coloring and stir until evenly distributed.1-2 tablespoons finely pureed strawberries or raspberry puree, Food coloring (pink)
- Stir in the vanilla extract. Let the mixture cool to room temperature, then cover and refrigerate for at least 2 hours, or until thoroughly chilled. This step is crucial for proper ice cream churning.1 teaspoon vanilla extract
- In your chilled mixing bowl, pour the remaining 1/4 cup granulated sugar into the cold heavy whipping cream. Whip on medium-high speed until stiff peaks form. Be careful not to over-whip, as this can turn the cream into butter.1/2 cup granulated sugar, 1 cup heavy whipping cream
- Gently fold the chilled pink base mixture into the whipped cream until just combined. Do not overmix. Cover the bowl and refrigerate for another hour to ensure the mixture is very cold before churning.
- Pour the mixture into your ice cream maker and churn according to the manufacturer’s instructions. This typically takes about 20-30 minutes, until the ice cream has thickened to a soft-serve consistency.
- Transfer the churned Pink ice cream cone mixture into an airtight container. For firmer ice cream, press a piece of parchment paper directly onto the surface to prevent ice crystals from forming, then cover with the lid. Freeze for at least 4-6 hours, or until firm enough to scoop.Waffle cones or sugar cones
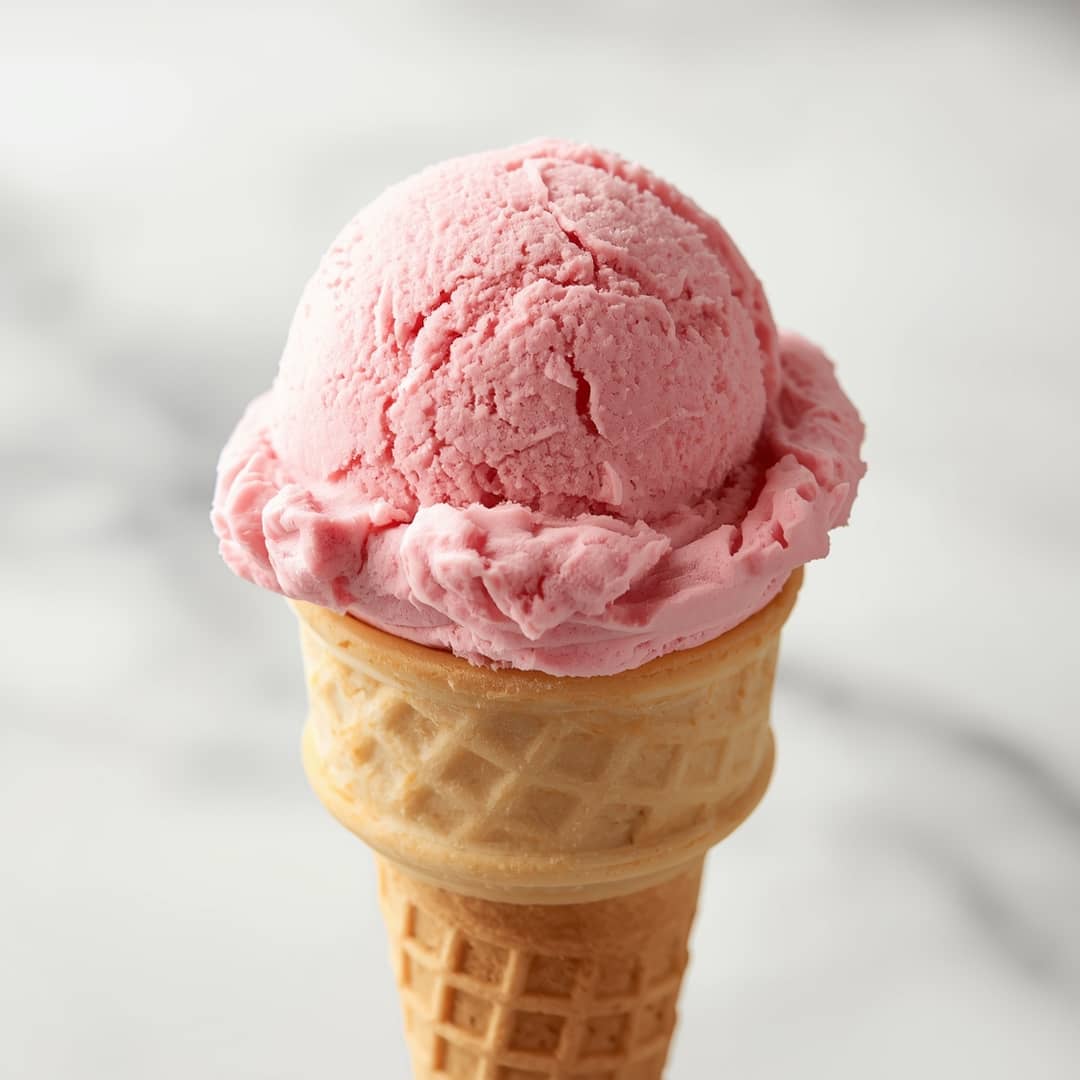
- Scoop the delicious homemade pink ice cream into your cones and add your favorite toppings!Waffle cones or sugar cones, Sprinkles, Chocolate sauce, Whipped cream, Fresh berries
Notes
To keep your delicious Pink ice cream cone mixture fresh for future enjoyment, proper storage is key. For the best texture and flavor, store the churned ice cream in an airtight container in the freezer. Pressing a piece of parchment paper directly onto the surface of the ice cream before sealing the container will help prevent the formation of ice crystals, keeping it smooth and creamy for up to 2 weeks. If you find the ice cream has become too hard to scoop after freezing, simply let it sit at room temperature for 5-10 minutes to soften slightly before serving. Reheating is not applicable for ice cream; it is best enjoyed frozen.
