Ingredients
Equipment
Method
- In a medium-sized mixing bowl, add the 1 cup of natural almond butter. Ensure it's at room temperature so it's soft and easy to work with. If your almond butter is very oily, you can drain off a little excess oil, but it adds moisture and helps bind the ingredients.1 cup natural almond butter
- Next, add the 1/2 cup of rolled oats to the bowl. If you prefer a smoother texture, you can pulse the oats briefly in a food processor before adding them, but whole rolled oats provide a lovely chewiness. Follow with the 1/4 cup of unsweetened shredded coconut and the 1/4 cup of chia seeds.1/2 cup rolled oats, 1/4 cup unsweetened shredded coconut, 1/4 cup chia seeds
- Pour in the 2 tablespoons of sugar-free maple syrup. The amount can be adjusted based on your preference for sweetness; start with this amount and taste a small bit of the mixture before rolling, adding more if desired. Add the 1 teaspoon of pure vanilla extract for that classic comforting flavor.2 tablespoons sugar-free maple syrup, 1 teaspoon pure vanilla extract
- If you enjoy a hint of warmth, add a pinch of cinnamon to the bowl. This spice complements the almond butter beautifully and adds another layer of flavor without affecting sugar levels.Pinch cinnamon
- Using a sturdy spoon or a spatula, begin to mix all the ingredients together. Stir systematically, ensuring that all the dry ingredients are fully incorporated into the wet ingredients. Continue mixing until a cohesive, thick dough forms. It should be moist enough to hold together but not sticky. If the mixture seems too dry and crumbly, add another teaspoon of almond butter or a tiny splash of water. If it's too wet, add another tablespoon of oats or coconut.
- If you’re using any of the optional additions like sugar-free chocolate chips, chopped nuts, or lemon zest, gently fold them into the mixture now. Ensure they are evenly distributed throughout the dough.1 tablespoon sugar-free chocolate chips
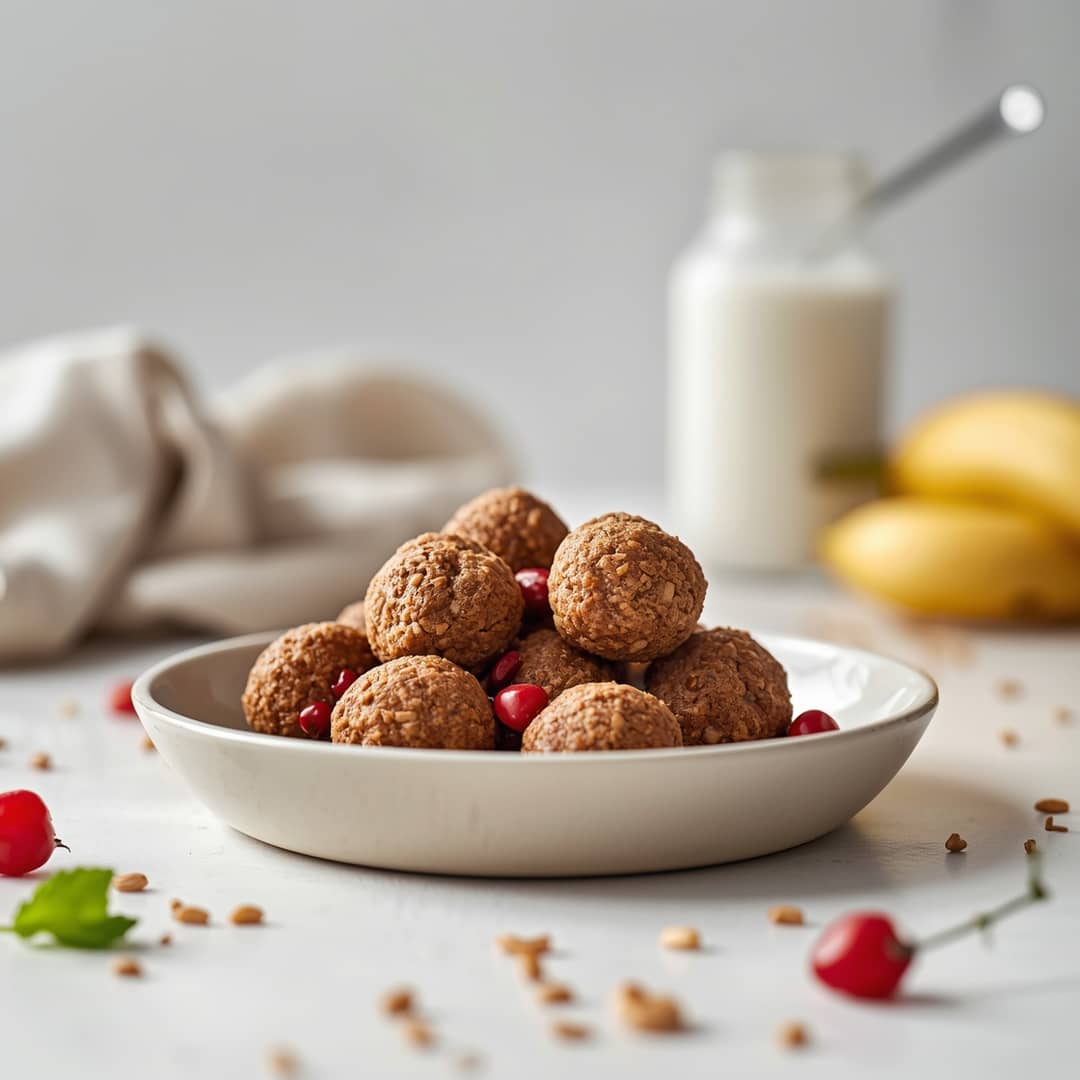
- Once the mixture is well combined and has a workable consistency, it’s time to form the balls. Take about a tablespoon of the mixture at a time and roll it between your palms to form a compact, bite-sized ball. Aim for uniform size so they all cook or set evenly, though these don't require cooking!
- Place the rolled protein balls onto a plate or a baking sheet lined with parchment paper. Once all the mixture has been rolled, cover the plate or sheet with plastic wrap or transfer them to an airtight container. Refrigerate for at least 30 minutes to allow the balls to firm up and hold their shape. This chilling step is crucial for achieving the perfect texture.
- After chilling, your Quick Protein Balls for Diabetics are ready to be enjoyed! They are perfect for a pre- or post-workout snack, a mid-afternoon pick-me-up, or a healthy dessert option.
Notes
Store in an airtight container in the refrigerator for up to 1 week. Can be frozen for up to 2 months.
