Ingredients
Equipment
Method
- Preheat your oven according to the red velvet cake mix box instructions. Prepare a 9x13 inch baking pan by greasing and flouring it, or lining it with parchment paper. Mix the red velvet cake mix according to the package directions. Pour the batter evenly into the prepared baking pan.1 box red velvet cake mix
- Bake the cake for the time specified on the box, or until a toothpick inserted into the center comes out clean. Allow the cake to cool completely in the pan on a wire rack. This is a crucial step for easy handling.
- Once the cake is entirely cool, remove it from the pan. You can do this by inverting the pan onto a wire rack or by carefully scooping it out if you used parchment paper. Break the cake into small pieces, or crumble it directly in a large mixing bowl.
- Add the entire can of creamy vanilla frosting to the crumbled red velvet cake. Using your hands (cleanly washed, of course!) or a sturdy spatula, thoroughly mix the cake crumbles and frosting together. The goal is to create a cohesive, moldable dough. Ensure there are no dry streaks of cake.1 can creamy vanilla frosting
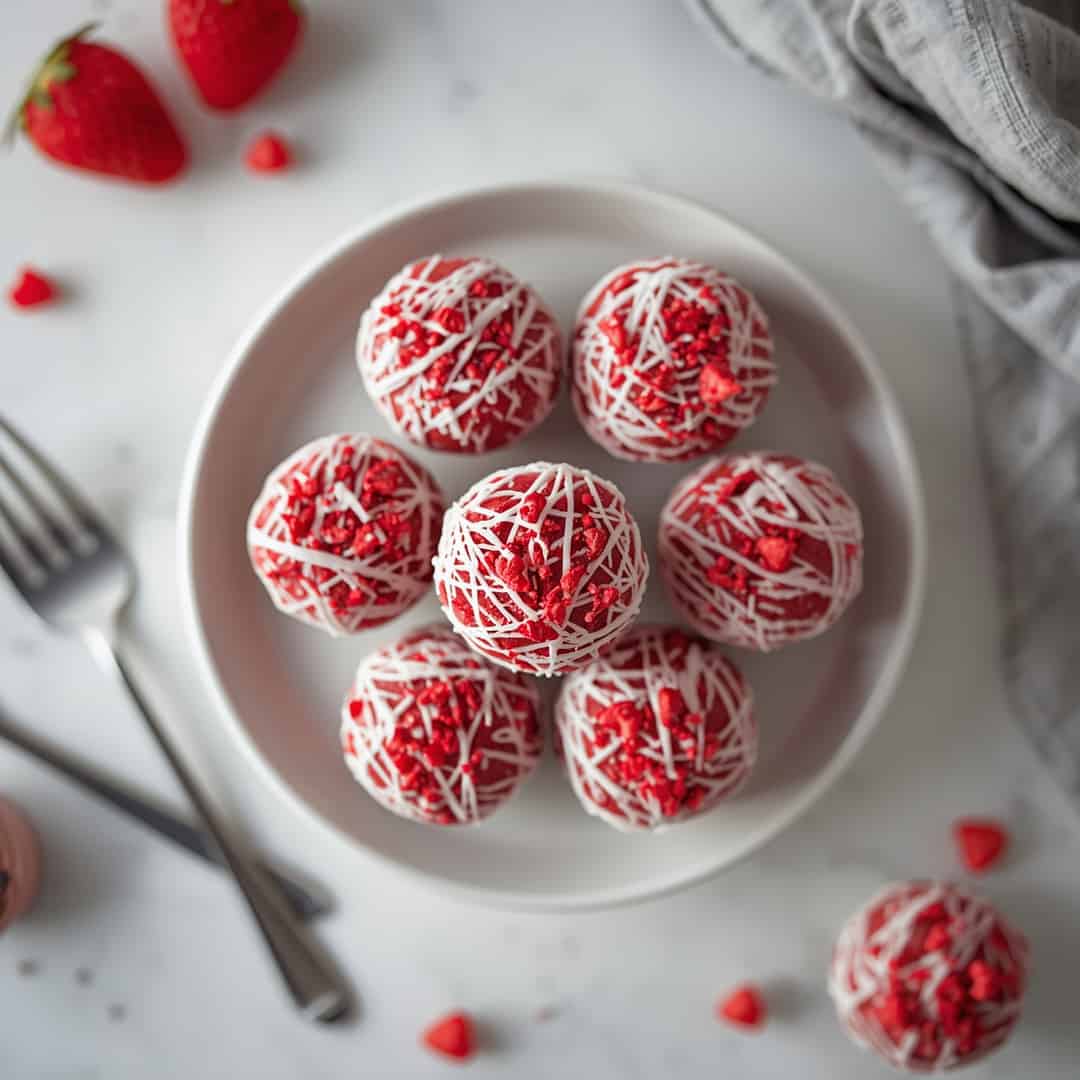
- Take small portions of the cake and frosting mixture and roll them between your palms to form uniform balls, about 1-inch in diameter. Place the rolled cake balls onto a baking sheet lined with parchment paper. Continue until all the mixture is used.
- Place the baking sheet with the red velvet cake balls into the refrigerator for at least 30 minutes. This chilling step is important as it firms up the balls, making them easier to dip in chocolate without losing their shape.
- While the cake balls are chilling, prepare your chocolate coating. Place the semi-sweet chocolate chips and vegetable shortening (if using) in a microwave-safe bowl. Microwave in 30-second intervals, stirring well after each interval, until the chocolate is completely melted and smooth. Alternatively, you can melt the chocolate using a double boiler.1 cup semi-sweet chocolate chips, 1 tablespoon vegetable shortening
- Remove the chilled cake balls from the refrigerator. Using a toothpick or a fondue fork, dip each cake ball into the melted chocolate, ensuring it is fully coated. Allow any excess chocolate to drip back into the bowl.
- Place the chocolate-dipped cake balls back onto the parchment-lined baking sheet. Immediately sprinkle them with your desired toppings, such as red sprinkles, white chocolate shavings, or chopped nuts, before the chocolate begins to set.red sprinkles, white chocolate shavings
- Let the Red Velvet Cake Balls sit at room temperature until the chocolate coating has hardened completely. If the room is warm, you can place them back in the refrigerator for a few minutes to speed up the setting process, but avoid leaving them in for too long to prevent the chocolate from blooming.
Notes
For short-term storage, place in an airtight container at room temperature for up to 2-3 days. For longer storage, refrigerate in an airtight container for 1-2 weeks. Freeze for up to 2-3 months.
