Ingredients
Equipment
Method
- In a medium bowl, whisk together the all-purpose flour, unsweetened cocoa powder, baking soda, and salt. Set aside for now.2 1/2 cups All-Purpose Flour, 1/4 cup Unsweetened Cocoa Powder, 1 teaspoon Baking Soda, 1/2 teaspoon Salt
- In a large mixing bowl or the bowl of a stand mixer fitted with the paddle attachment, cream together the softened unsalted butter, granulated sugar, and packed brown sugar on medium speed until light and fluffy, about 2-3 minutes.1 cup Unsalted Butter, 1 1/2 cups Granulated Sugar, 1/2 cup Brown Sugar
- Add the large eggs one at a time, beating well after each addition. Stir in the vanilla extract and the red food coloring until the mixture is a uniform, vibrant red. Add the white vinegar and mix to combine.2 large Eggs, 2 teaspoons Vanilla Extract, 2 tablespoons Red Food Coloring, 1 teaspoon White Vinegar
- Gradually add the dry ingredients to the wet ingredients, mixing on low speed until just combined. Be careful not to overmix the dough. It should be a thick, reddish batter.
- For easier handling and a better crinkle, cover the bowl with plastic wrap and refrigerate for at least 30 minutes. This step is crucial for achieving well-defined crinkles.
- Preheat your oven to 375°F (190°C). Line baking sheets with parchment paper or silicone baking mats.
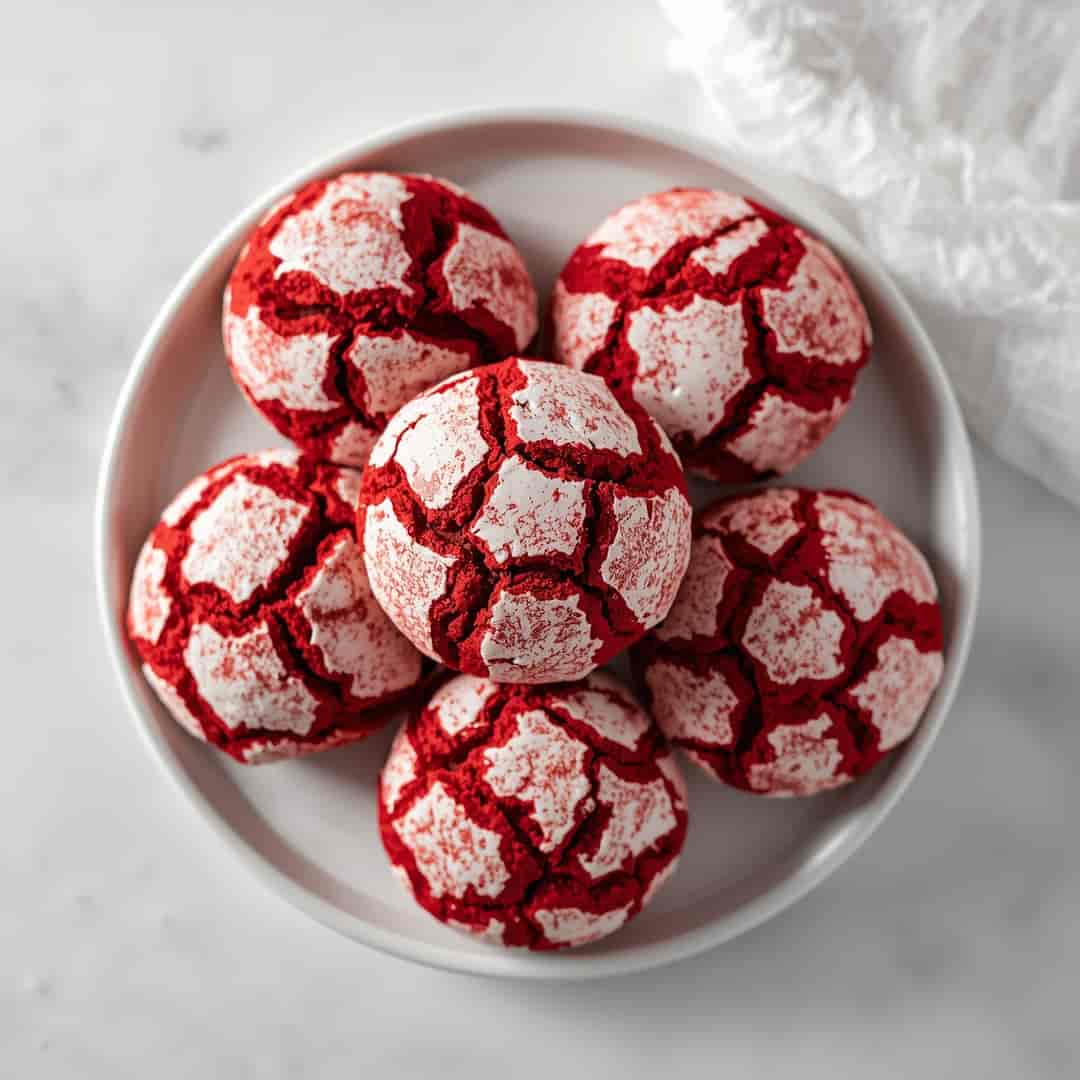
- Place the powdered sugar in a shallow bowl. Scoop about 1 tablespoon of chilled dough at a time and roll it into a smooth ball. Then, generously roll each ball in the powdered sugar, ensuring it's fully coated. This coating will puff up and crack during baking, creating the signature crinkle effect.1 cup Powdered Sugar
- Place the coated cookie dough balls about 2 inches apart on the prepared baking sheets. Bake for 10-12 minutes, or until the edges are set and the centers are still slightly soft. They will continue to firm up as they cool.
- Let the Red Velvet Crinkle Cookies cool on the baking sheets for 5 minutes before transferring them to a wire rack to cool completely. This allows them to set properly without breaking.
Notes
Once completely cooled, store the cookies in an airtight container at room temperature for up to 3-4 days. For longer storage, freeze cooled cookies until firm, then transfer to a freezer-safe bag for up to 2-3 months.
