Ingredients
Equipment
Method
- Ensure your KitchenAid ice cream maker bowl is thoroughly frozen. This is the most crucial step for achieving a good churn. It typically requires at least 15-24 hours in a very cold freezer.
- In a medium bowl, whisk together the heavy cream, whole milk, granulated sugar, pure vanilla extract, and salt until the sugar is completely dissolved. You want a smooth, homogenous mixture with no sugar granules remaining.2 cups heavy cream, 1 cup whole milk, 3/4 cup granulated sugar, 1 tablespoon pure vanilla extract, 1/4 teaspoon salt
- Attach the frozen ice cream maker bowl to your KitchenAid stand mixer. Install the drive assembly and paddle attachment.
- Pour the chilled cream mixture into the frozen ice cream maker bowl.
- Turn the mixer on to speed 2 (low speed) and let it churn for 20-30 minutes. The mixture will gradually thicken and become the consistency of soft-serve ice cream. You’ll know it's ready when it coats the back of a spoon and holds its shape.
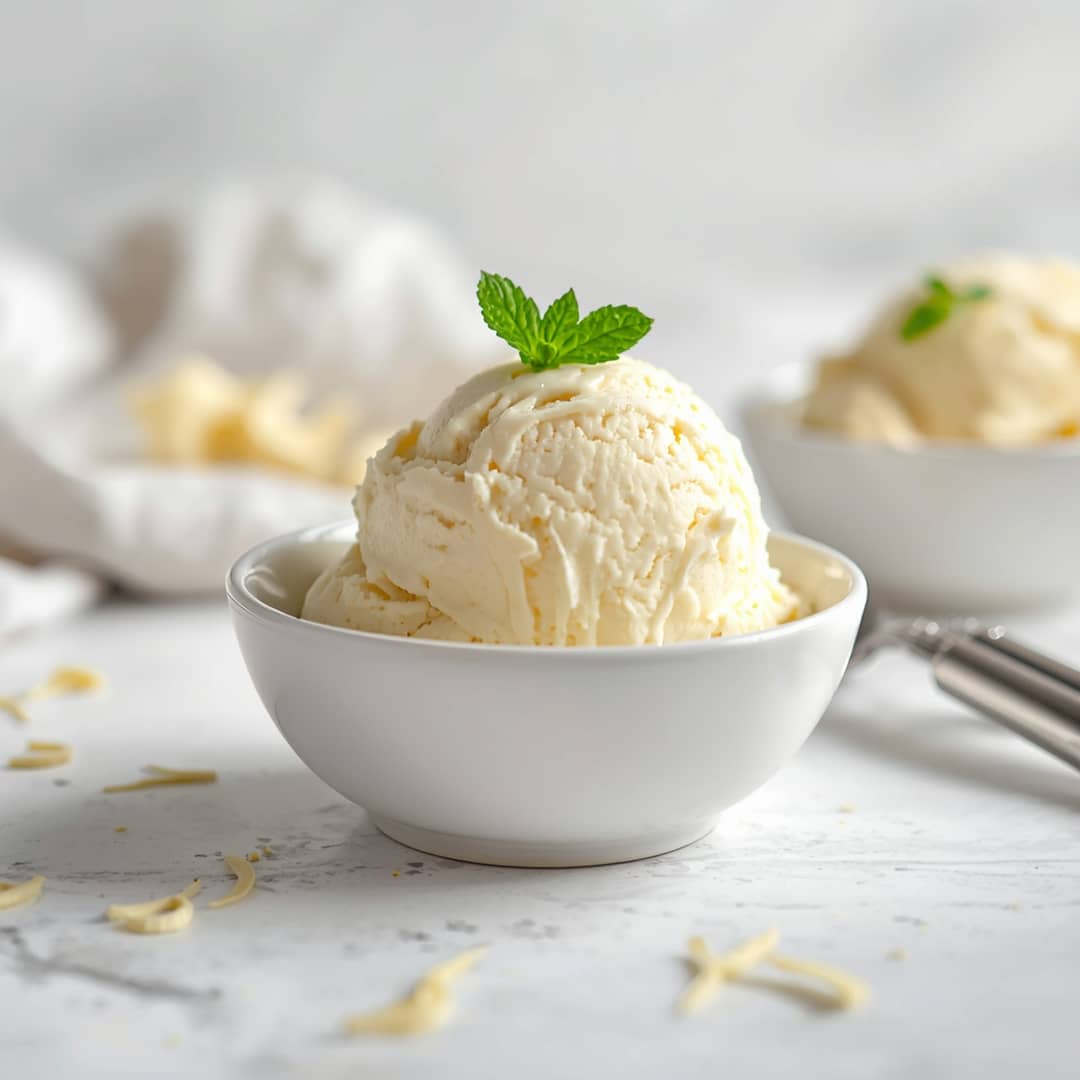
- Once churned, the ice cream will be soft. Spoon it into a freezer-safe container. For the best texture, press parchment paper or plastic wrap directly onto the surface of the ice cream to prevent ice crystals from forming. Cover the container tightly and freeze for at least 4 hours, or until firm and scoopable.
Notes
To store your Simple KitchenAid Vanilla Ice Cream, transfer it to an airtight, freezer-safe container. For optimal texture and to prevent freezer burn, press a layer of parchment paper or plastic wrap directly onto the surface of the ice cream before sealing the lid. When stored properly, homemade vanilla ice cream can remain fresh and delicious for up to 2 weeks. Reheating isn't necessary for ice cream; instead, if it becomes too hard to scoop, simply let it sit at room temperature for 5-10 minutes to soften slightly before serving. Freezing is the primary preservation method for this recipe, ensuring you can enjoy its creamy goodness whenever the craving strikes.
