Ingredients
Equipment
Method
- Toast Your Marshmallows: This is where the magic begins! Preheat your broiler to high. Place one cup of marshmallows in a single layer on a baking sheet lined with parchment paper. Keep a very close eye on them – they can go from perfectly toasted to burnt in seconds. Broil for about 1-2 minutes, or until the marshmallows are puffed up and golden brown in spots. Once toasted, immediately remove them from the oven and let them cool completely. As they cool, they will firm up. Once cooled, roughly chop the toasted marshmallows.1 cup marshmallows
- Prepare the Ice Cream Base: In a medium saucepan, combine the heavy cream, whole milk, and granulated sugar. Heat over medium heat, stirring constantly, until the sugar is completely dissolved and the mixture is warm but not boiling.2 cups heavy cream, 1 cup whole milk, 3/4 cup granulated sugar
- Infuse with Marshmallow Flavor: Once the sugar has dissolved, add the vanilla extract and salt to the warm cream mixture. Stir well.1 teaspoon vanilla extract, 1/4 teaspoon salt
- Blend and Chill: Very carefully, transfer about half of the warm cream mixture to a blender. Add the cooled, chopped toasted marshmallows to the blender. Blend on high speed until the marshmallows are fully incorporated and the mixture is smooth and creamy. This step creates a wonderfully infused base.1 cup marshmallows
- Combine and Chill Thoroughly: Pour the blended marshmallow mixture back into the saucepan with the remaining warm cream mixture. Stir to combine thoroughly. Cover the saucepan and refrigerate the base for at least 4 hours, or preferably overnight, until it is thoroughly chilled. This chilling step is crucial for achieving the best ice cream texture.
- Churn the Ice Cream: Once your base is completely chilled, pour it into your ice cream maker and churn according to the manufacturer's instructions. This typically takes about 20-30 minutes, or until the ice cream has thickened to a soft-serve consistency.
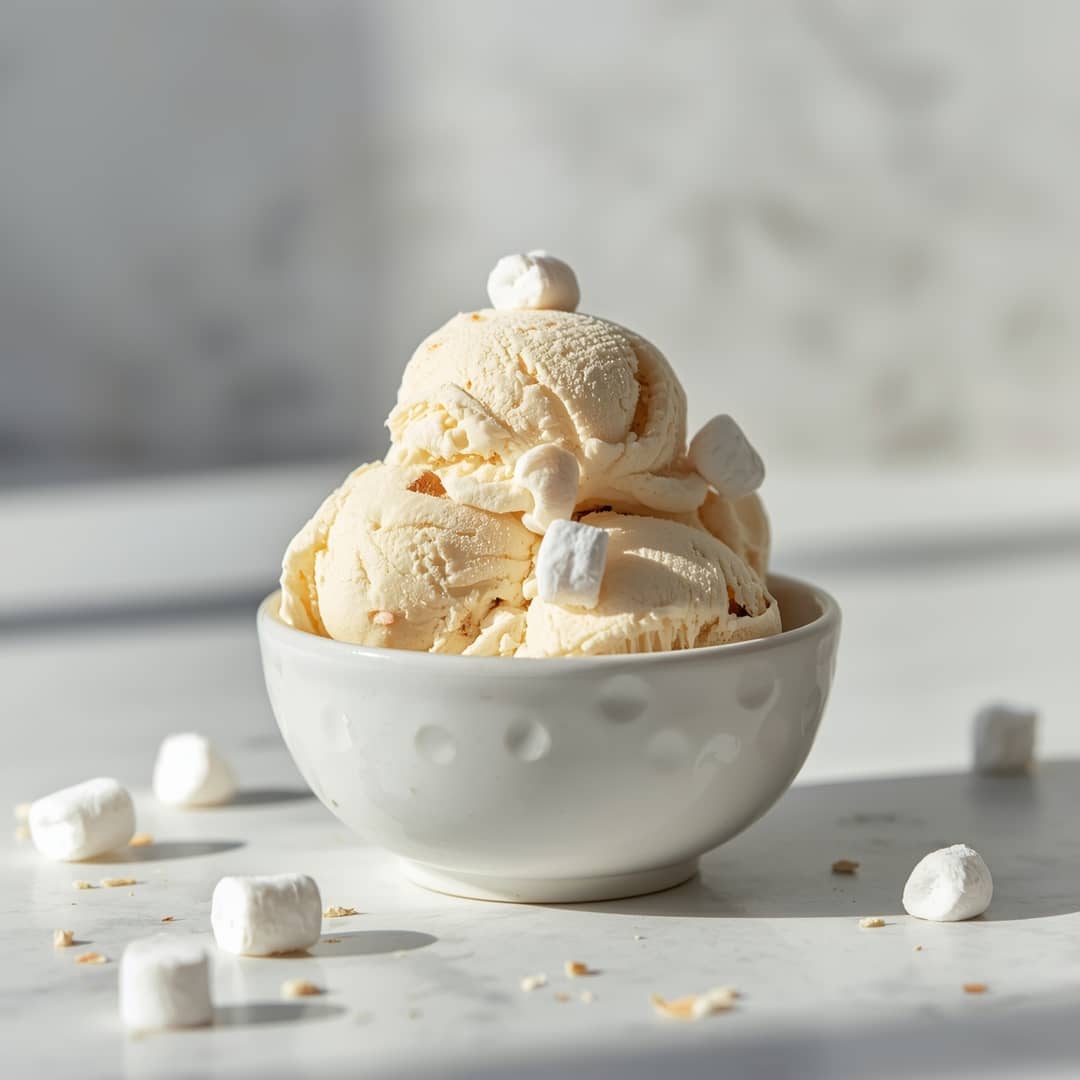
- Add Extra Marshmallow Goodness (Optional but Recommended!): During the last 5 minutes of churning, add in the remaining whole marshmallows. This will give you delightful pockets of gooey marshmallow throughout your ice cream.1 cup marshmallows
- Freeze to Harden: Transfer the churned ice cream to an airtight freezer-safe container. Press a piece of parchment paper directly onto the surface of the ice cream to prevent ice crystals from forming. Cover the container tightly and freeze for at least 4-6 hours, or until the ice cream is firm enough to scoop.
Notes
Properly stored, your homemade ice cream should stay delicious for up to 2-3 weeks. If it’s gotten too hard, let it sit at room temperature for 5-10 minutes to soften to a perfect scooping consistency.
